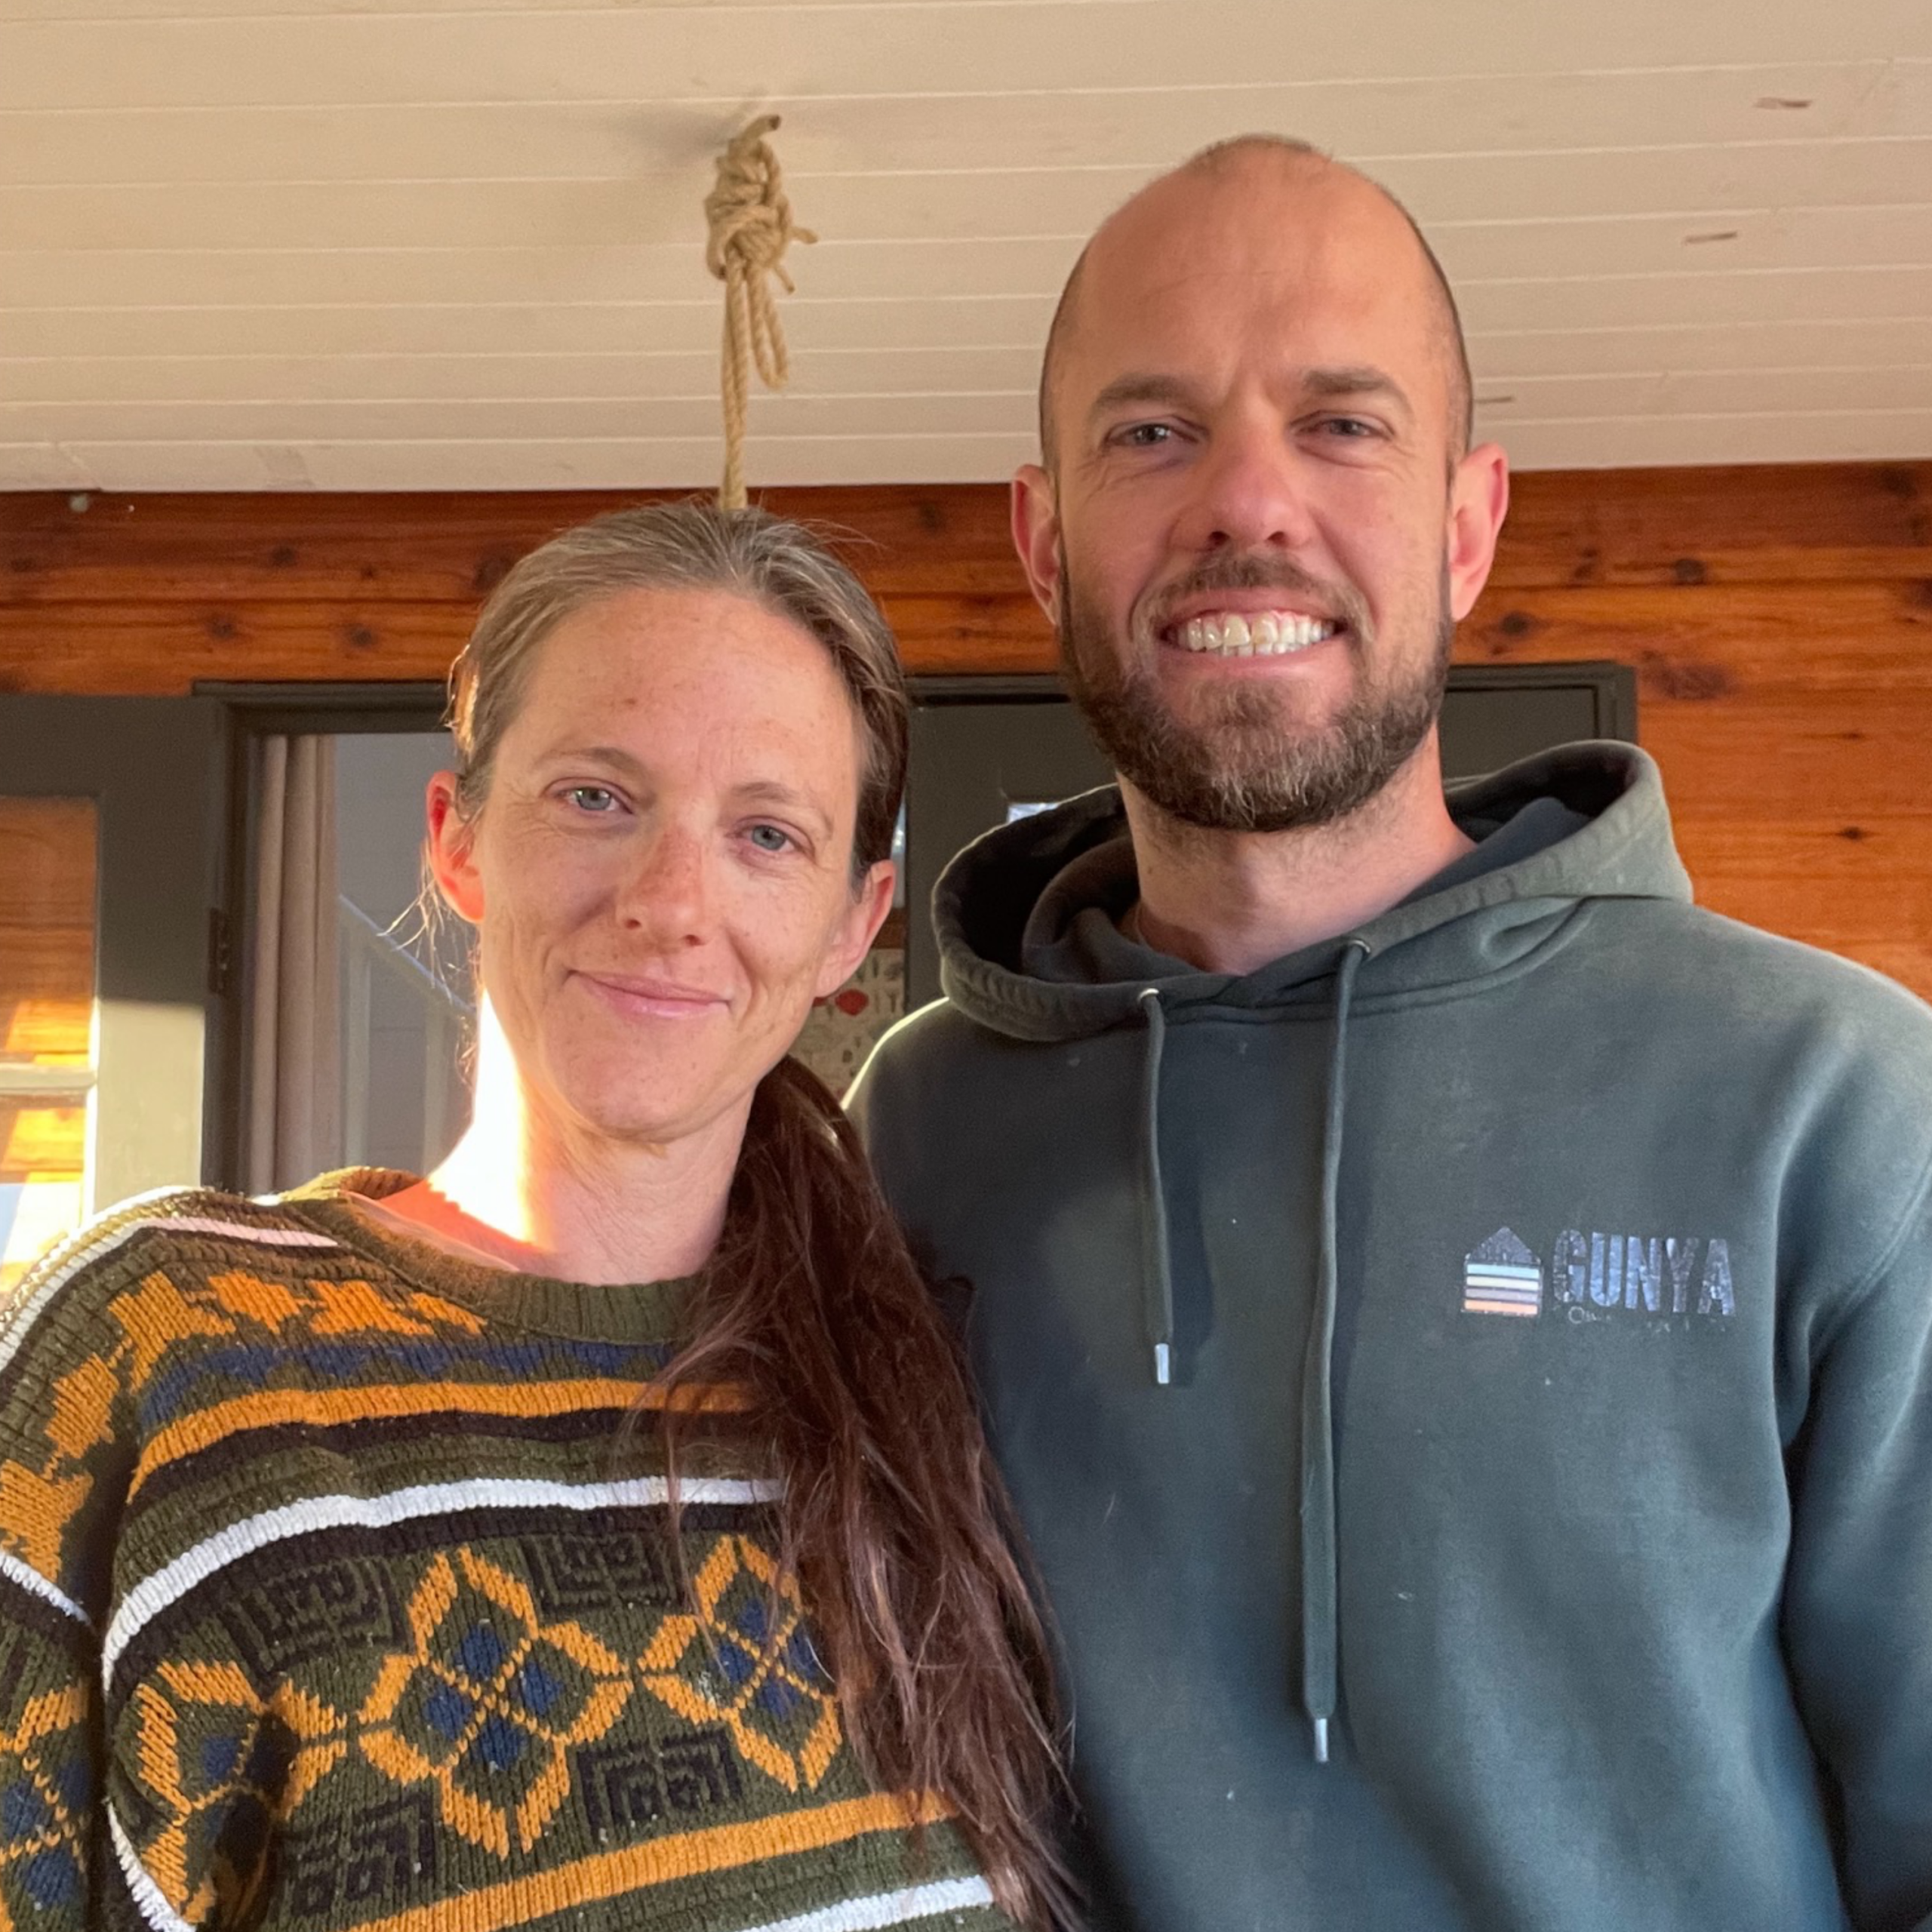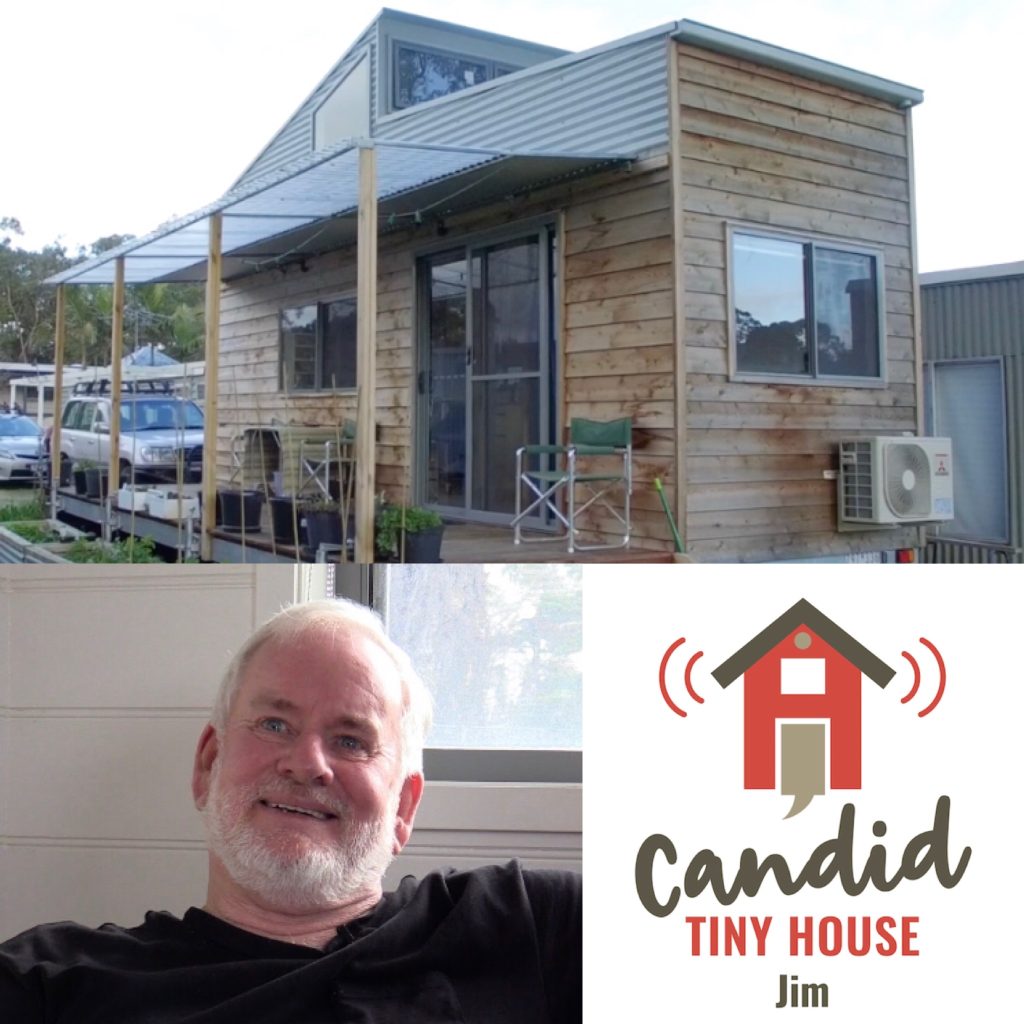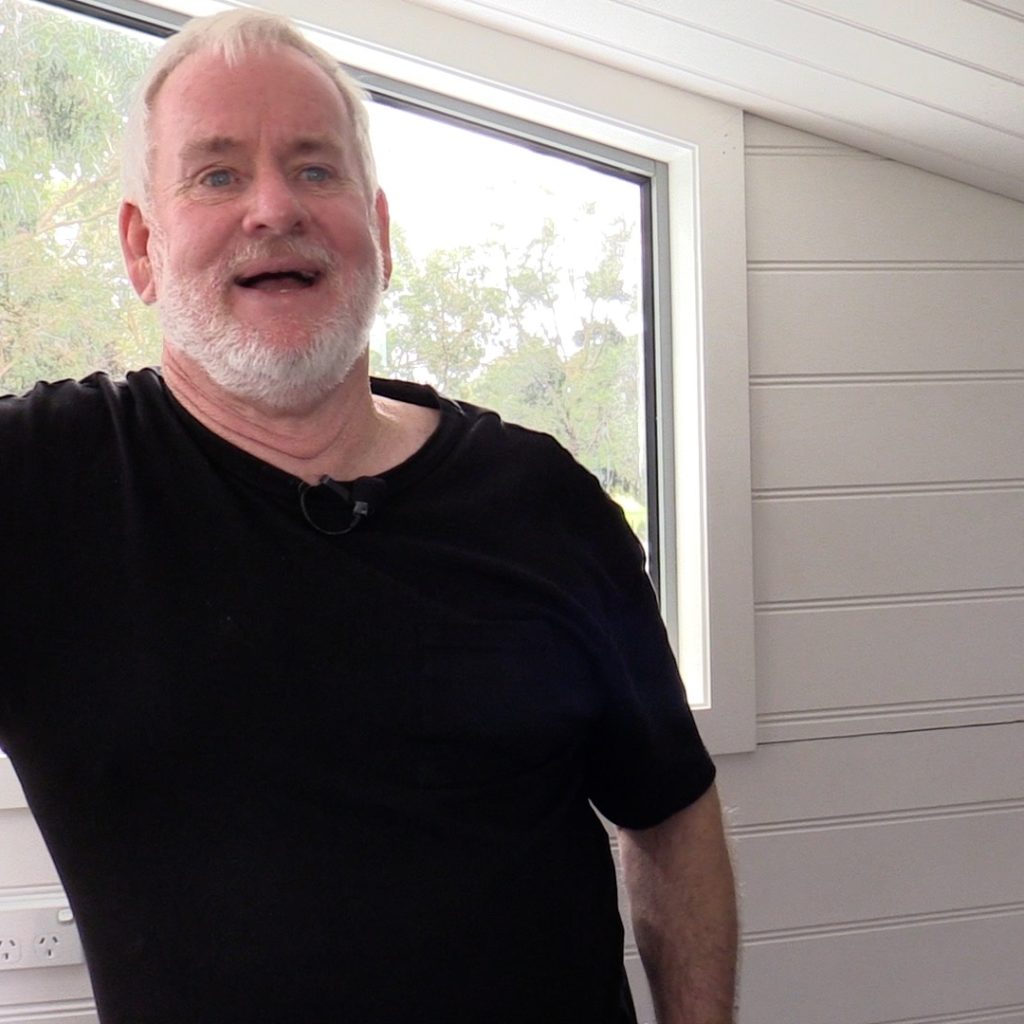
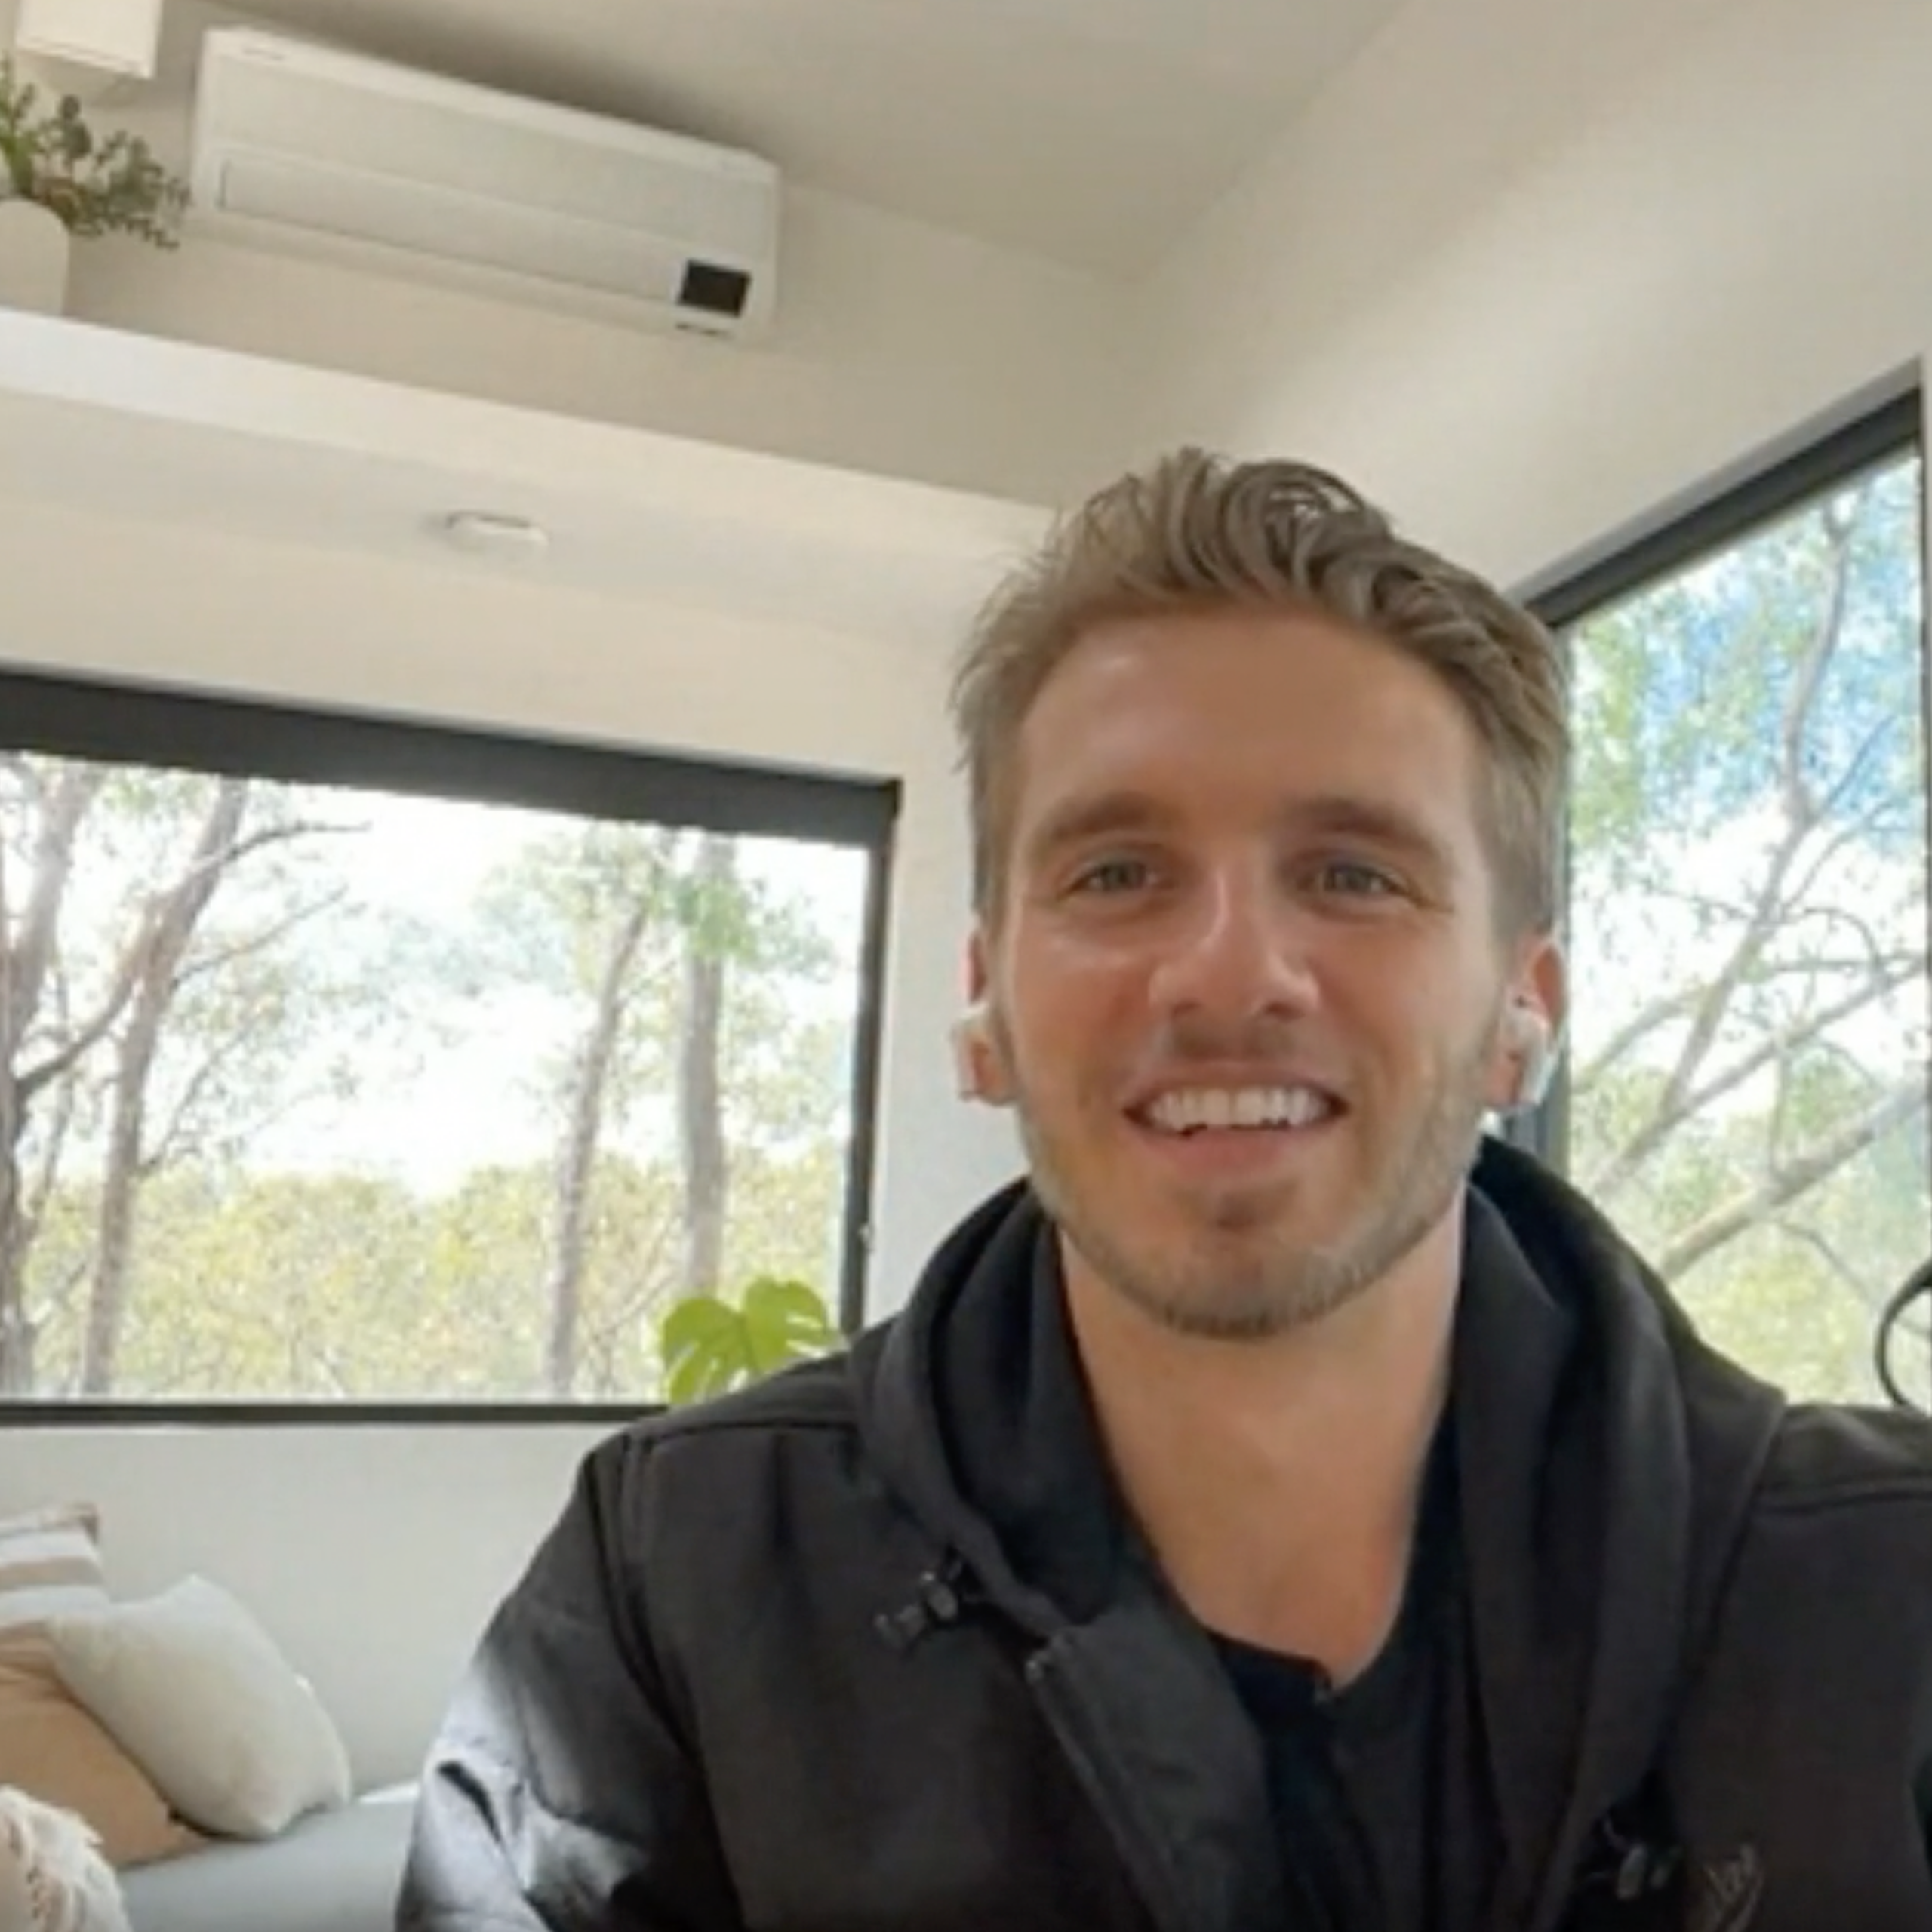
Lars
Candid Tiny House Podcast E6, S3
From Architecture Student to Tiny House Builder: How One Tiny Home Changed Lars’s Entire Life
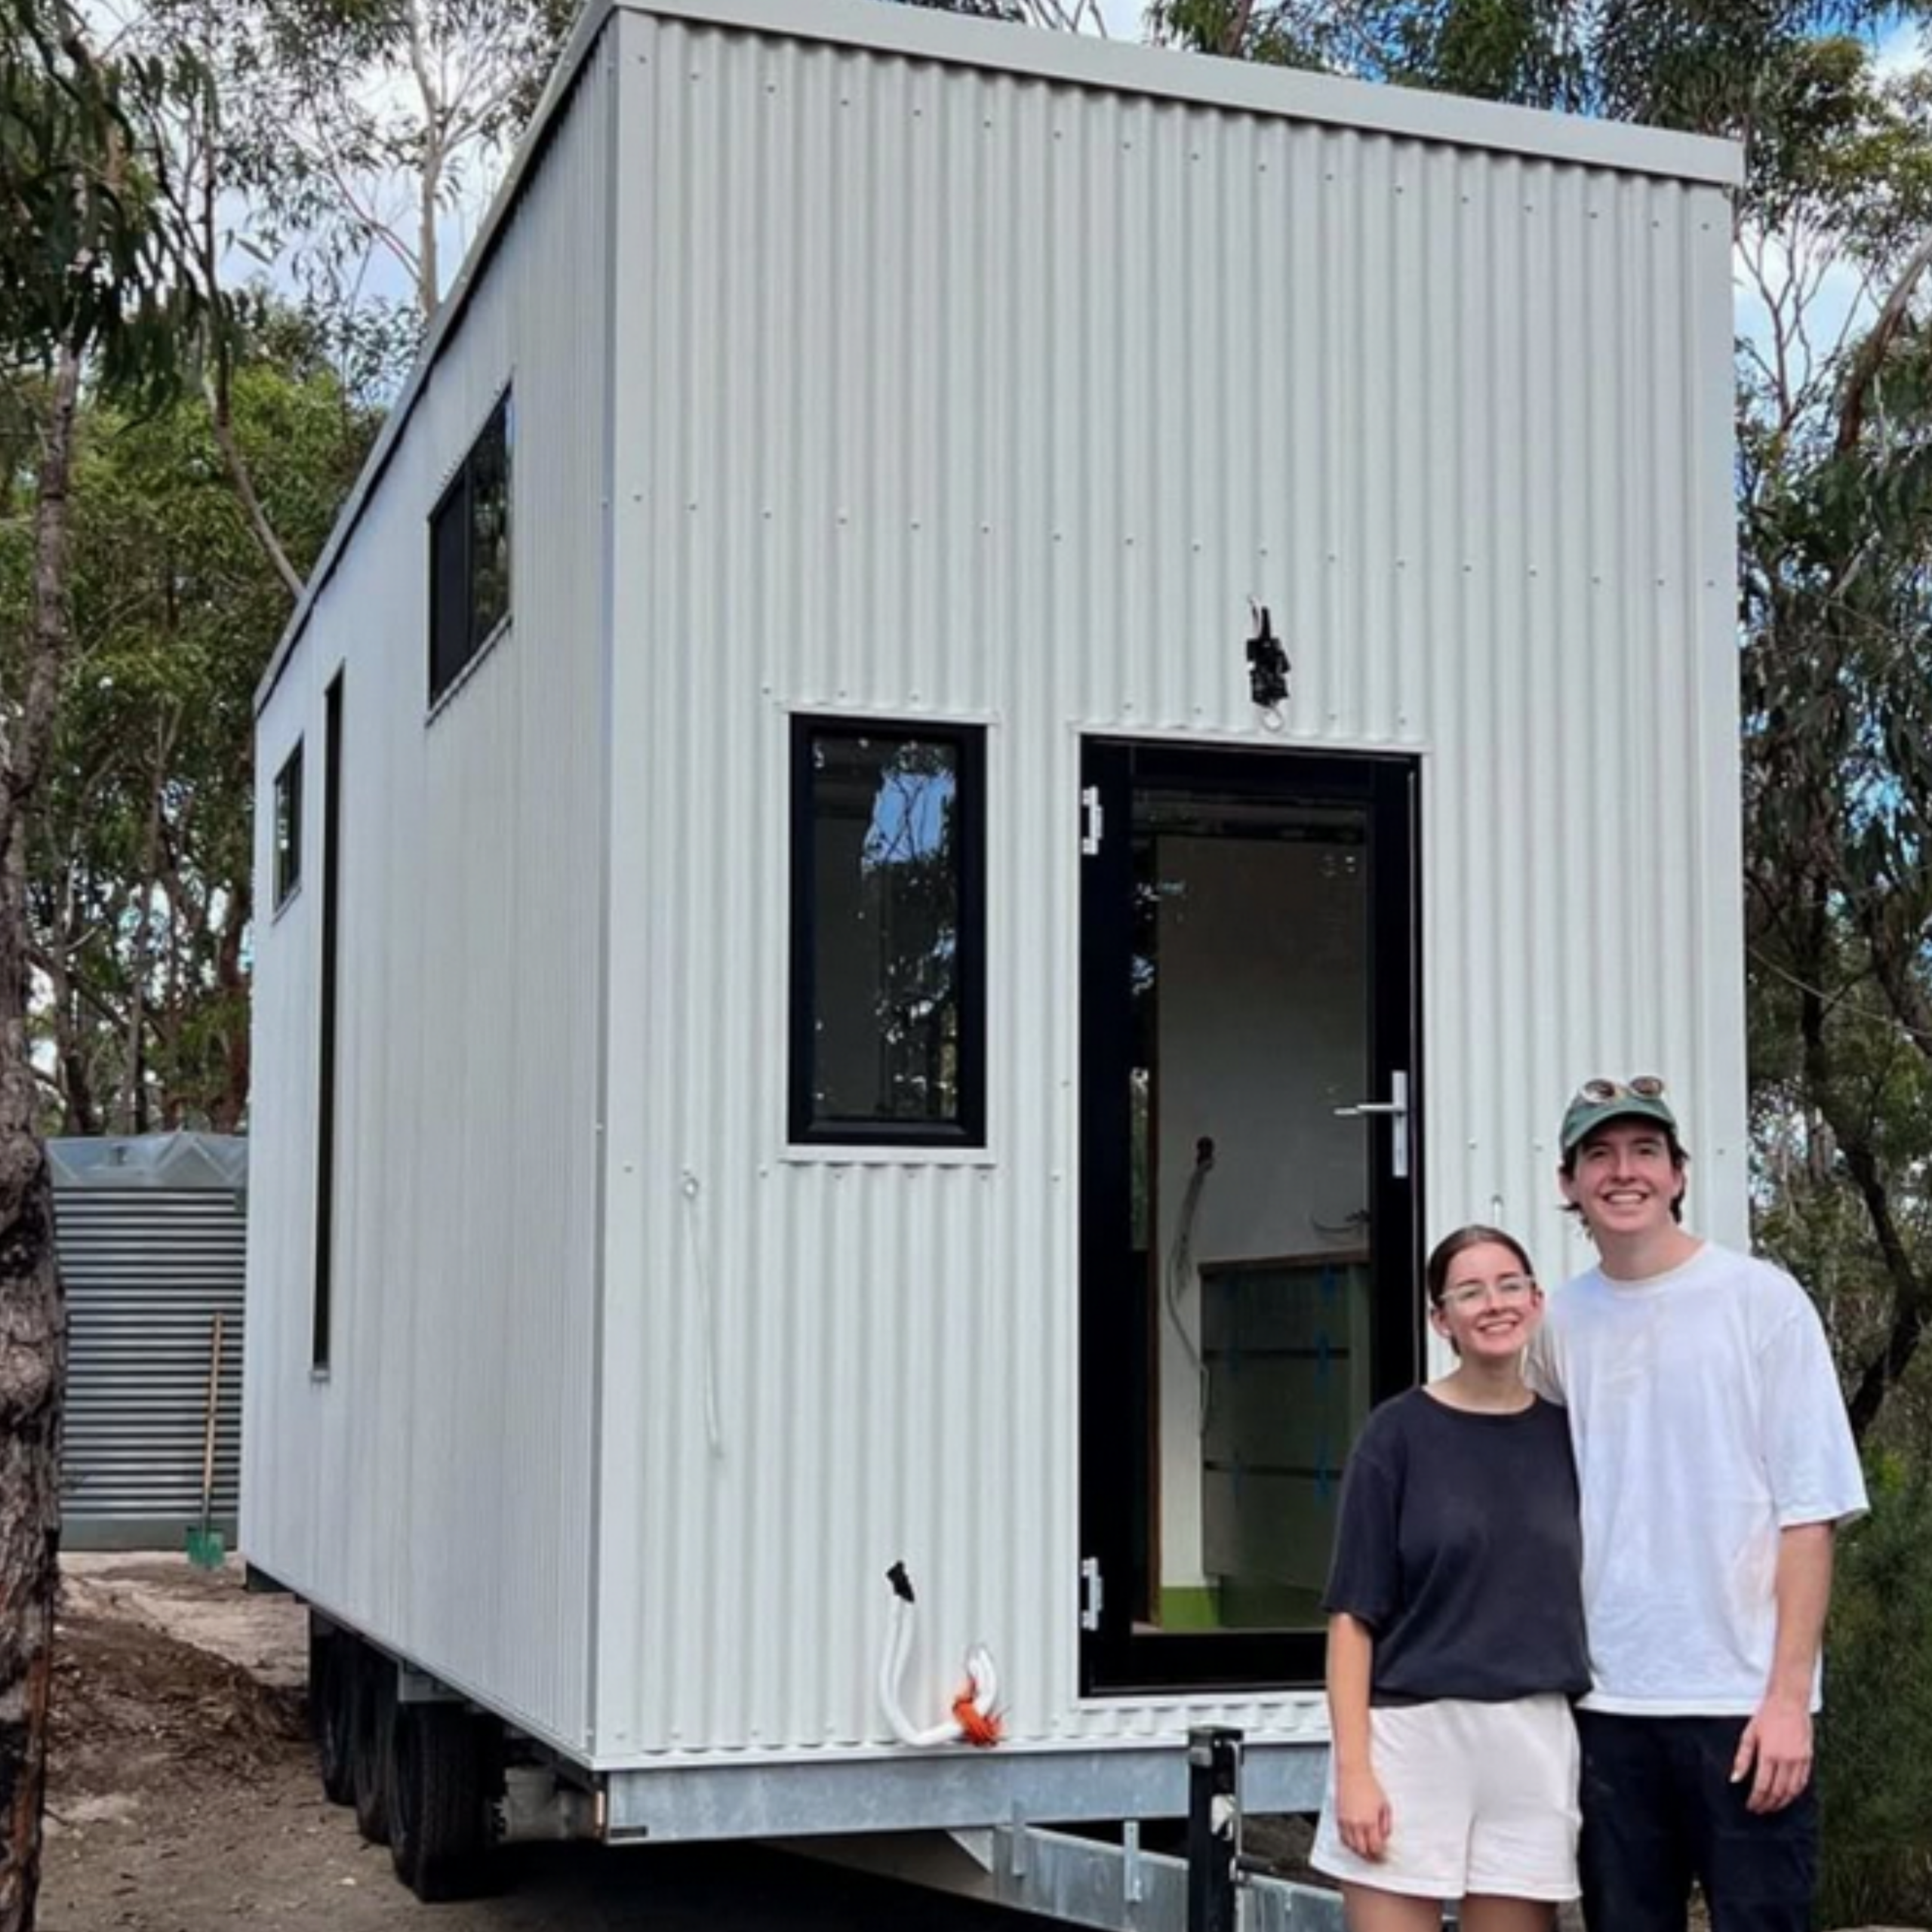
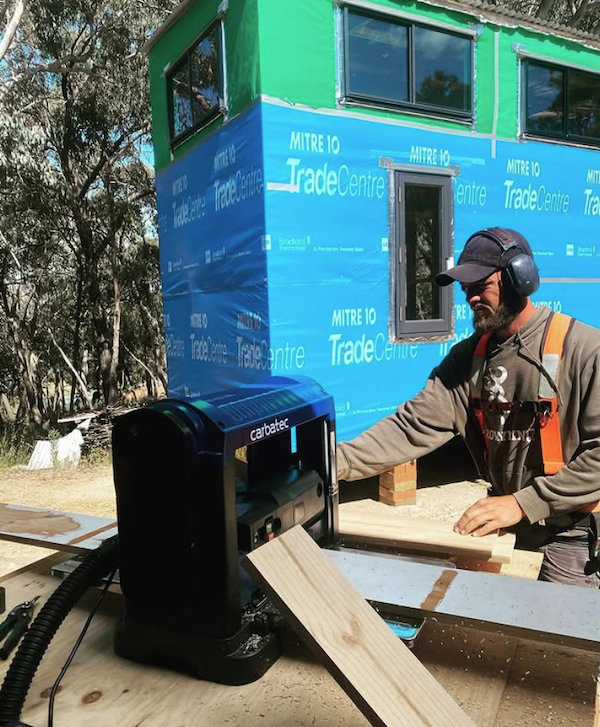
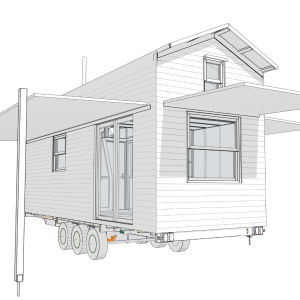
When Lars began building his tiny house on wheels, he was just 20 years old and studying Architecture at university. Like many first-time builders, he had enthusiasm, ambition, and plenty of ideas — but very little understanding of what it actually meant to build a house designed to travel safely down Australian roads.
What followed was a steep learning curve, a crash course in problem-solving, and ultimately, a project that would completely change the direction of his life.
A Tiny House That Became a Career Launchpad
For Lars, the tiny house wasn’t just somewhere to live. It became proof of what he was capable of.
“It’s definitely changed the whole trajectory of my life. Being an Architecture student, my Tiny Home was my portfolio. When you apply for an architecture job you show what you’ve done – what you’ve designed […] I would just rock up and show them my tiny house, and they’d be like ‘What can you do?’ And be like ‘I have real-world experience building’… So the tiny home was very very helpful. It’s literally changed my jobs it’s changed my career, it’s changed everything, for the better.”
Unlike many architecture students graduating with digital renders and theoretical concepts, Lars had something tangible: a fully built tiny house on wheels that he had designed, managed, and physically constructed himself.
The project became far more than a university-era experiment. It became a conversation starter, a portfolio piece, and a demonstration of practical skills that immediately stood out to employers.
Learning By Doing
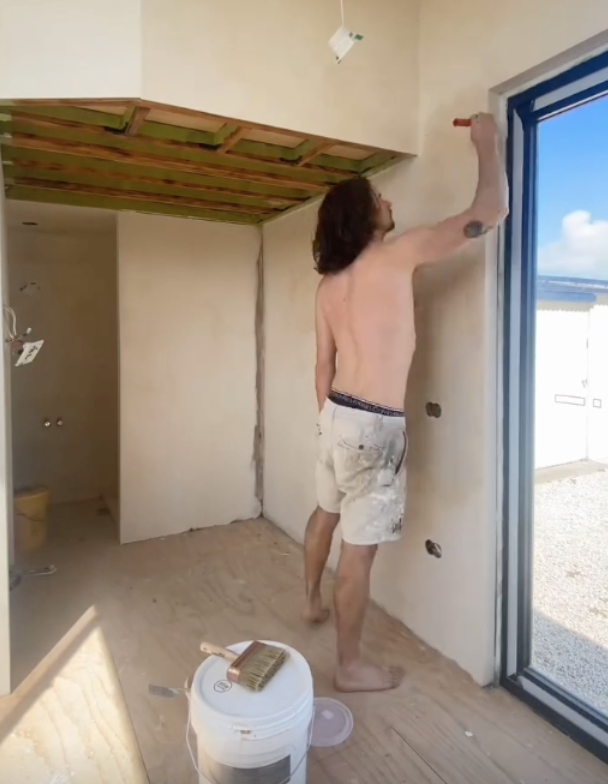
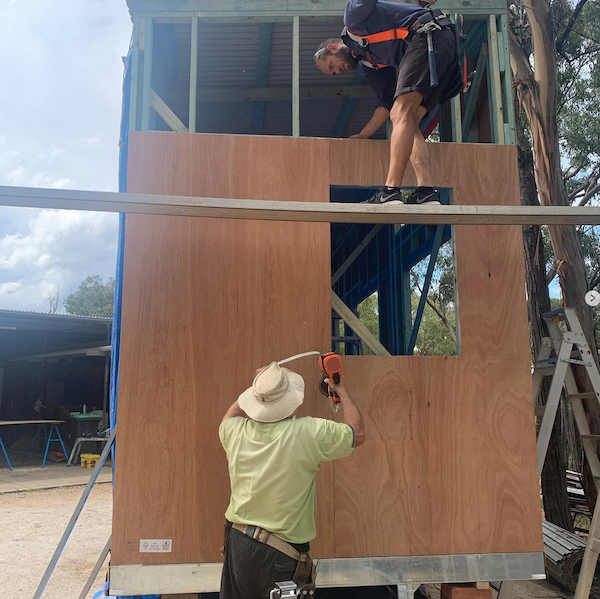
Like many owner-builders, Lars didn’t begin with years of construction experience behind him. Instead, he learned through immersion — by making mistakes, solving problems, and figuring things out as he went.
And according to Lars, that mindset matters far more than already knowing everything.
“As long as you’re willing to learn, and to throw yourself in the deep end, I think that’s the main one, and being comfortable with being uncomfortable, is probably the best one I would say. A lot of times [while building a tiny house] you’ll have no idea what’s going on!”
That honesty will resonate with many aspiring tiny house builders. Tiny houses on wheels often attract people who are stepping outside their comfort zone for the first time — whether that’s learning new construction skills, downsizing dramatically, or challenging traditional ideas of housing and success.
Lars’s story is a reminder that confidence often comes after action, not before it.
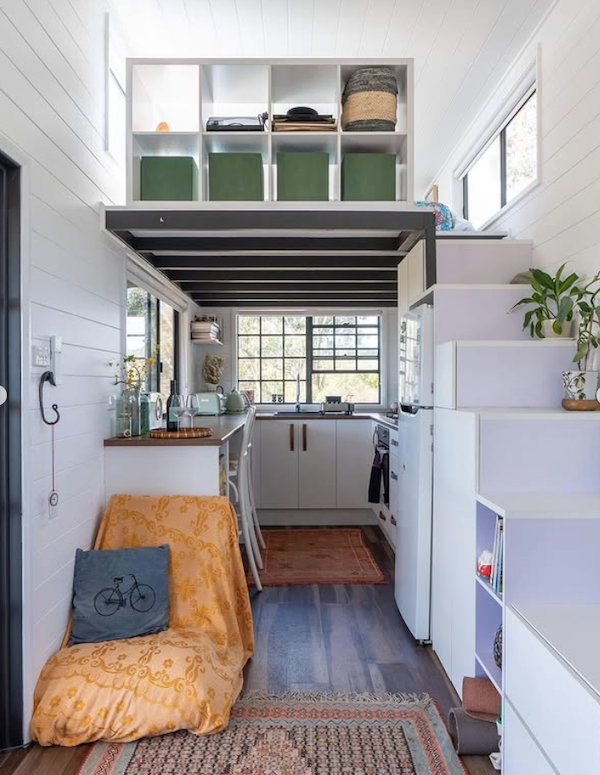
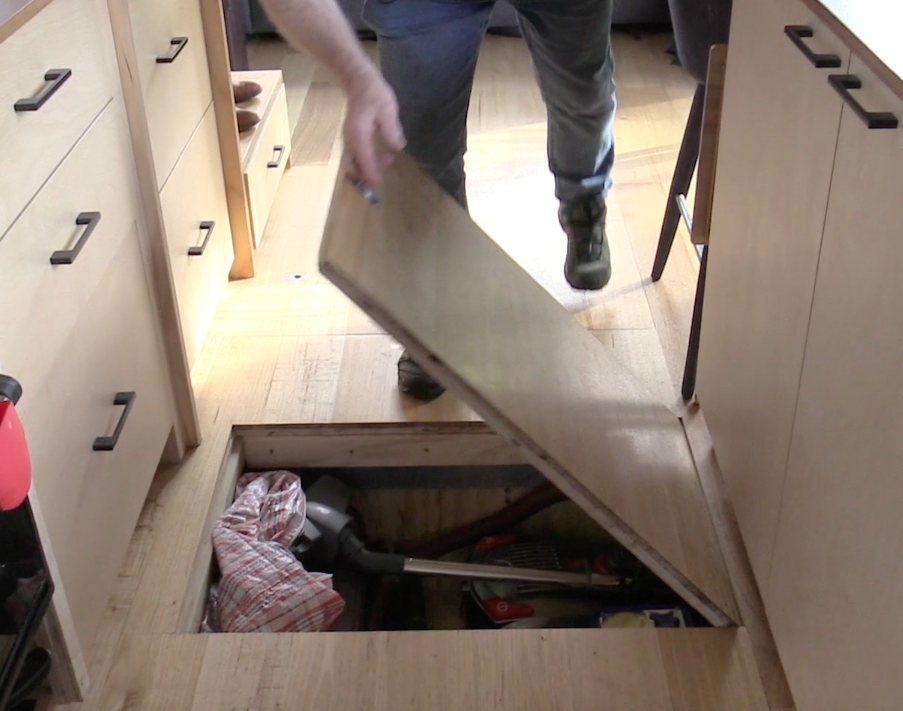
The Hidden Challenges of Tiny Living
While social media often romanticises tiny house life, Lars also spoke candidly about one of the most overlooked realities of living in a very small space: the emotional impact of constantly sharing it with another person.
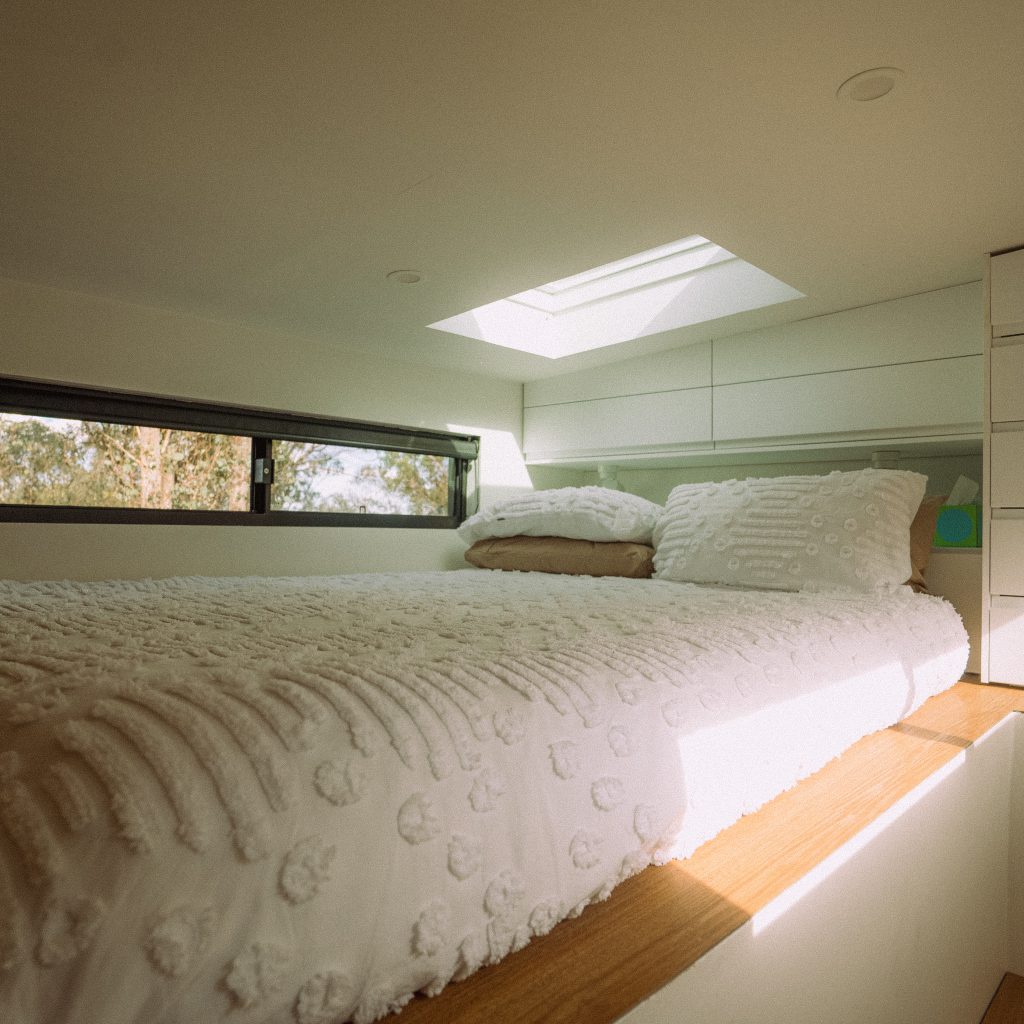
“That’s probably one thing I struggled with the most, living in a tiny home, is being so close to someone 24/7. There’s only one spot you can relax which is on the couch. And so If you want just some physical space, it’s kind of impossible to do that in a tiny home.”
It’s an important perspective in a culture that often focuses heavily on aesthetics and clever storage solutions, while ignoring the interpersonal side of compact living.
Tiny houses can absolutely offer freedom, affordability, and simplicity — but they also require adaptability, communication, and realistic expectations about personal space.
Learning the Right Way Before Building
One thing Lars repeatedly emphasised was how valuable education and preparation were before starting his build.
Prior to collecting his trailer, he completed the Fred’s Tiny Houses online course — something he now describes as one of the best investments he made during the entire process.
“I did do the Fred’s Tiny Houses Course online, just prior to picking up the trailer, just the online version and that was tremendously helpful. Regardless if someone buys a tiny home trailer from someone else or you guys, that course in itself was worth every penny. Like, I would have paid four times the amount for that! […] That was definitely worth it’s weight in gold.”
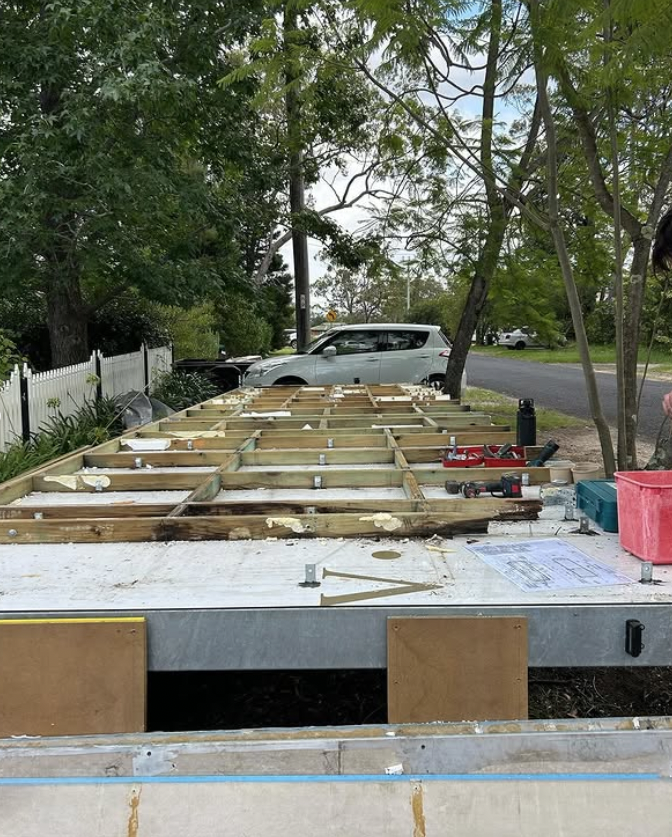
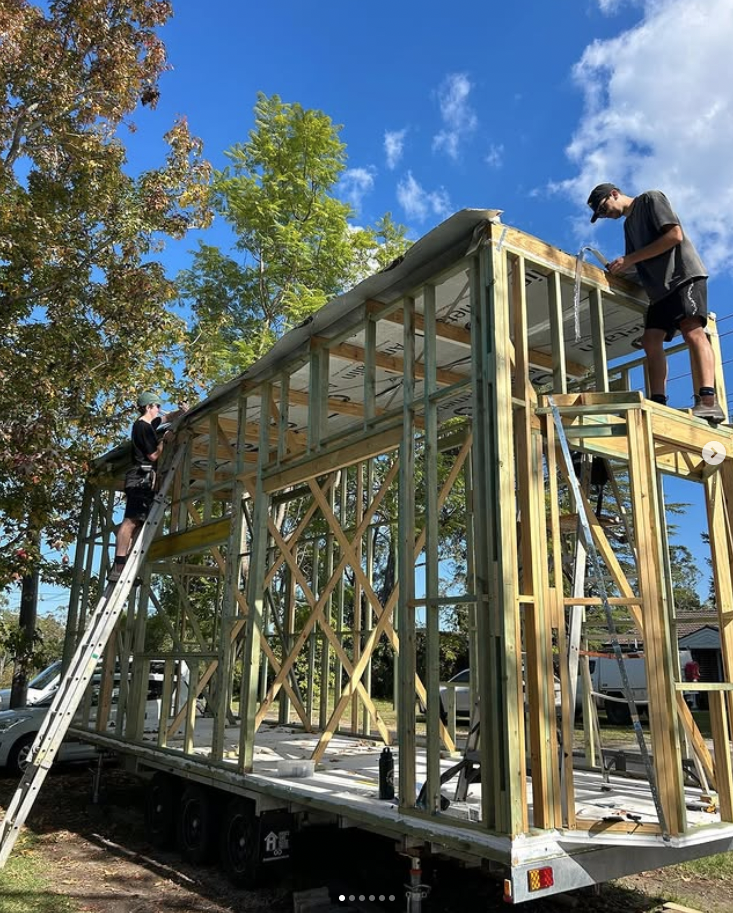
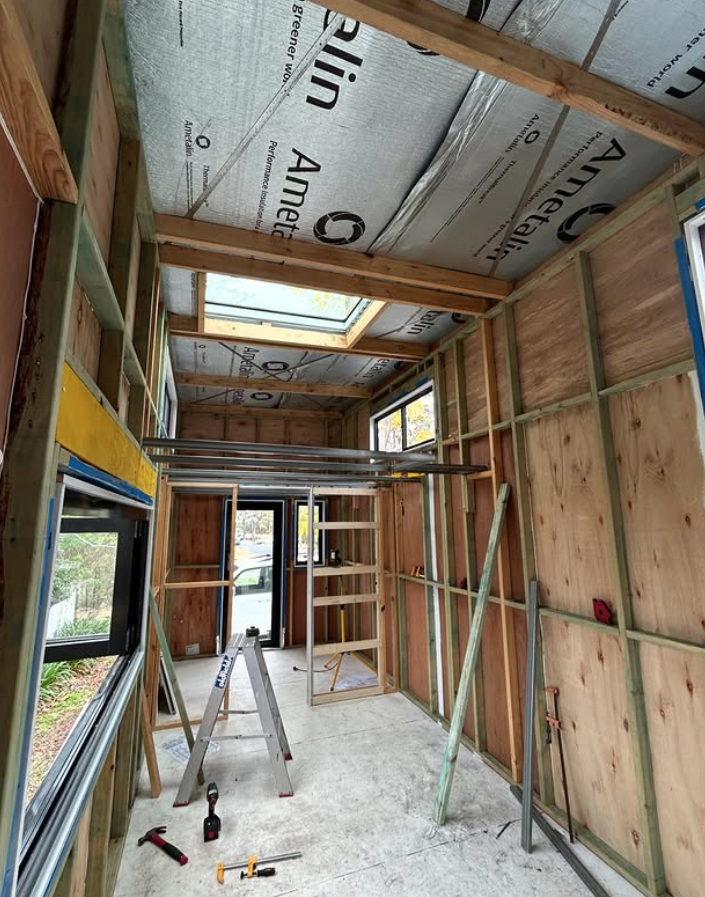
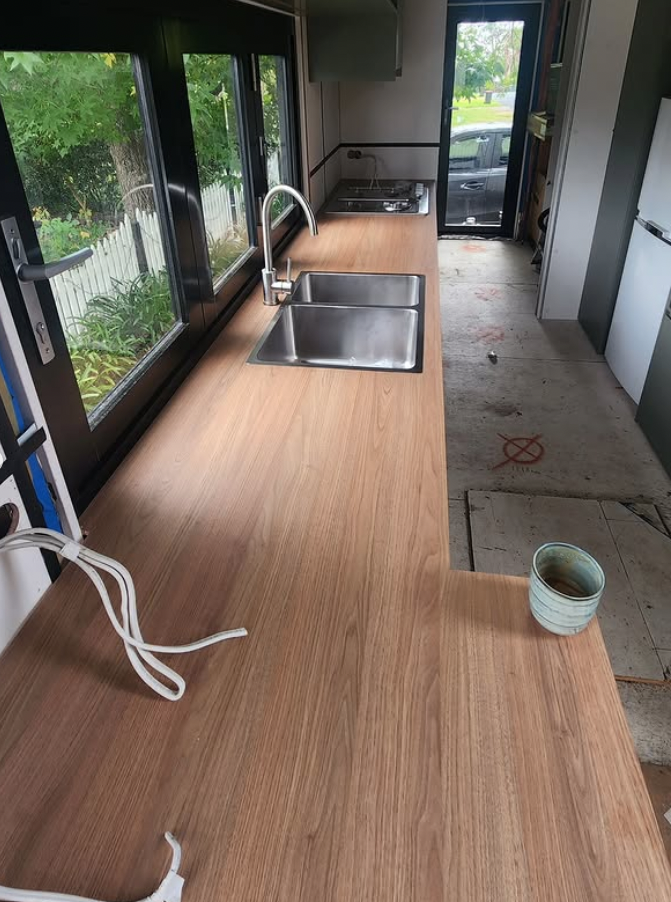
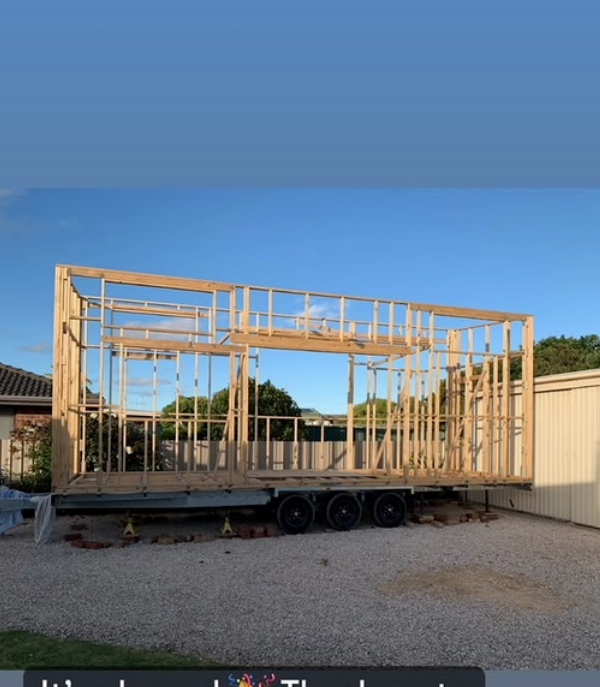
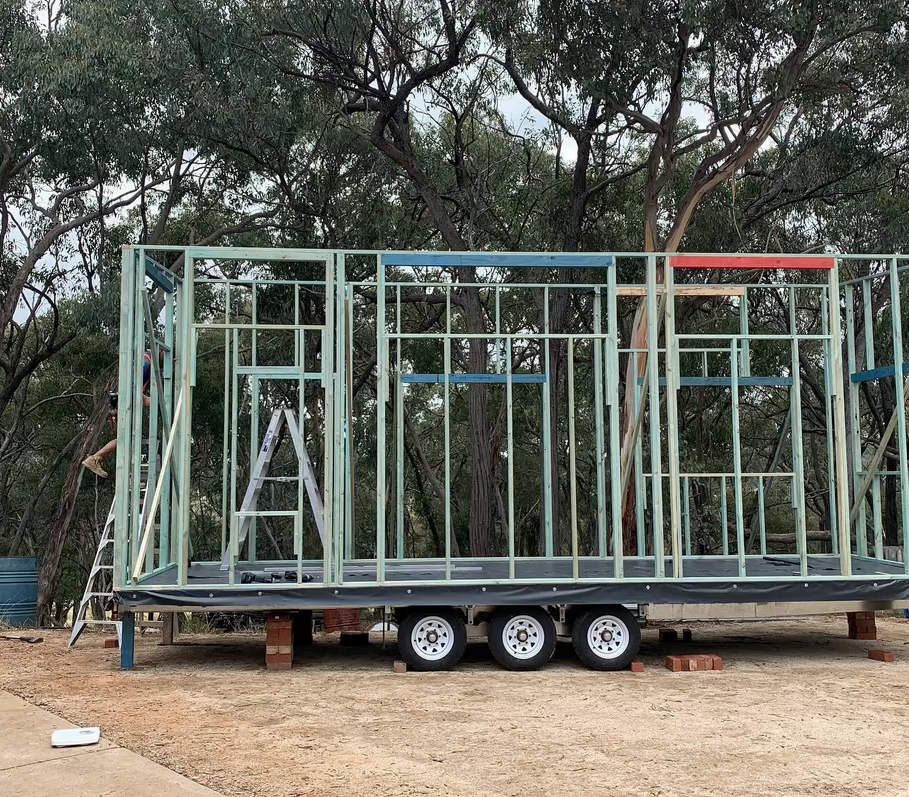
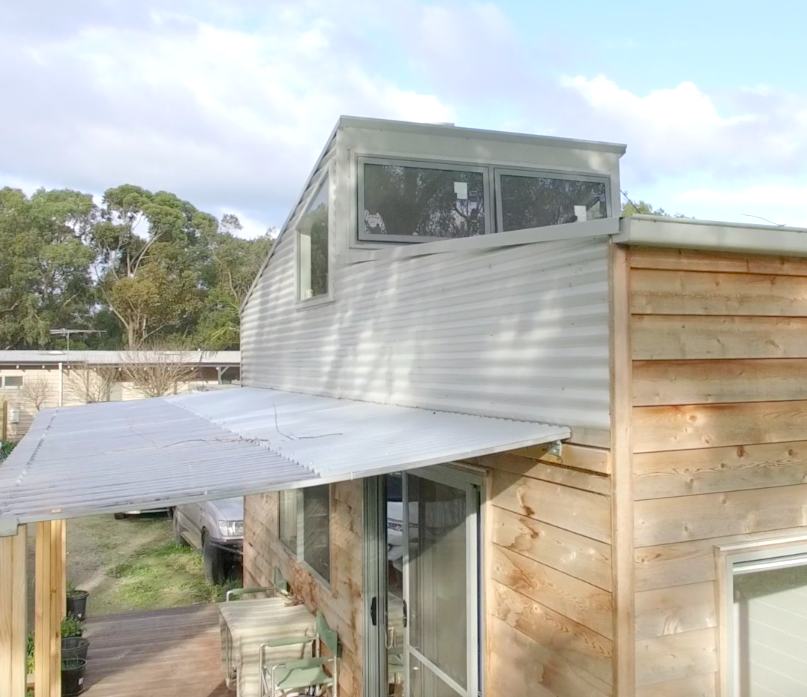
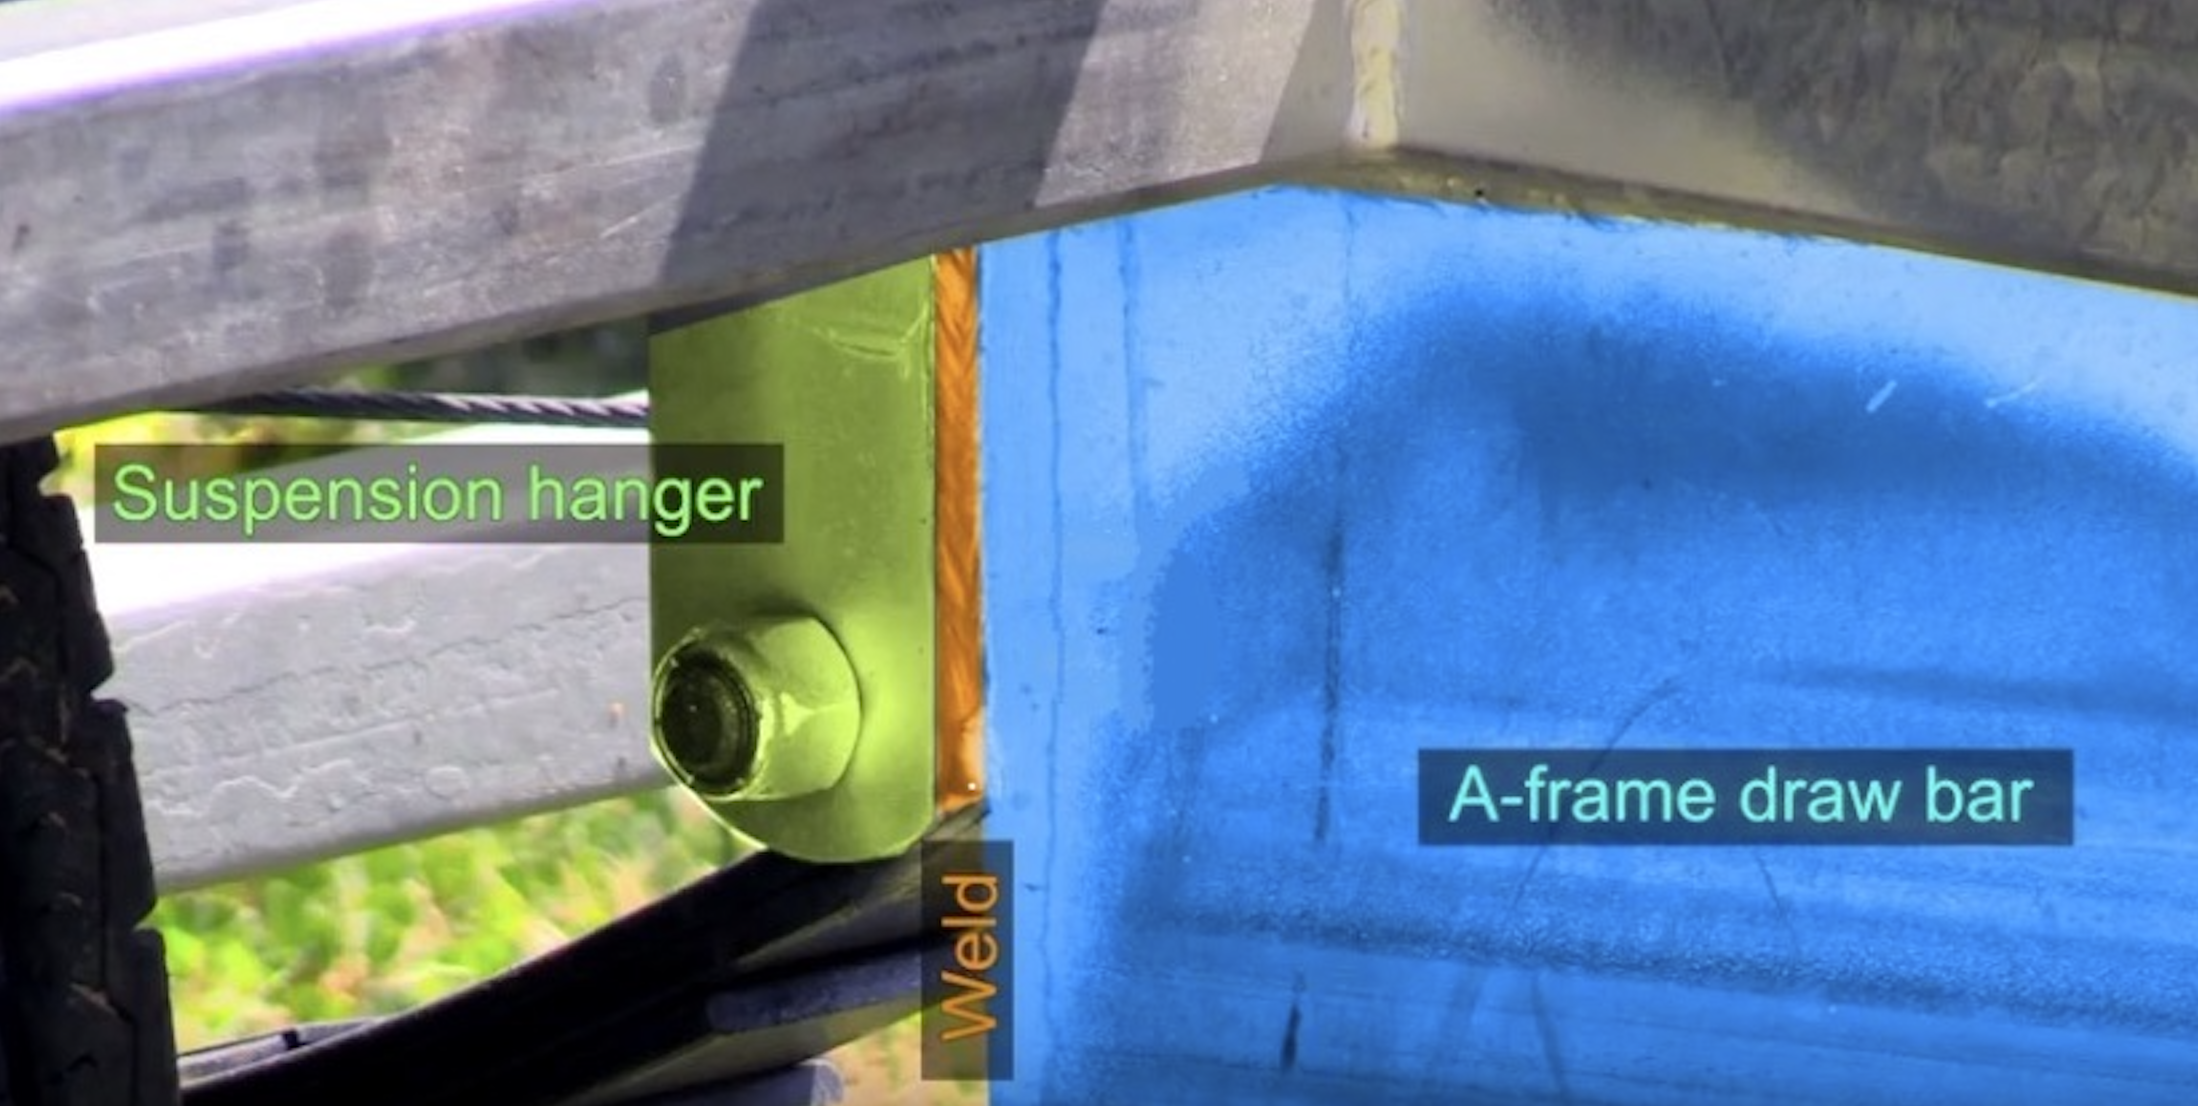
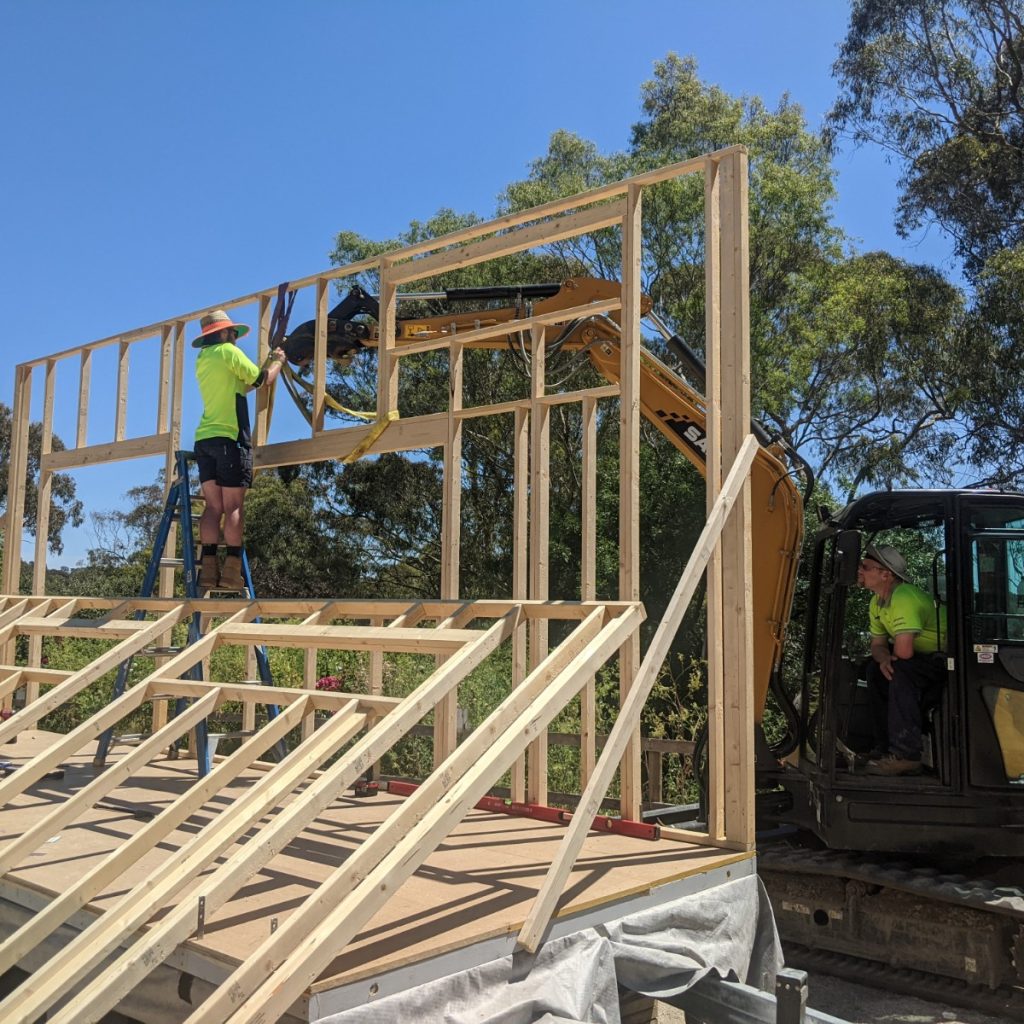
That preparation became particularly important later in the build, when Lars realised how easy it is to accidentally overbuild a tiny house by applying conventional residential construction methods to a vehicle.
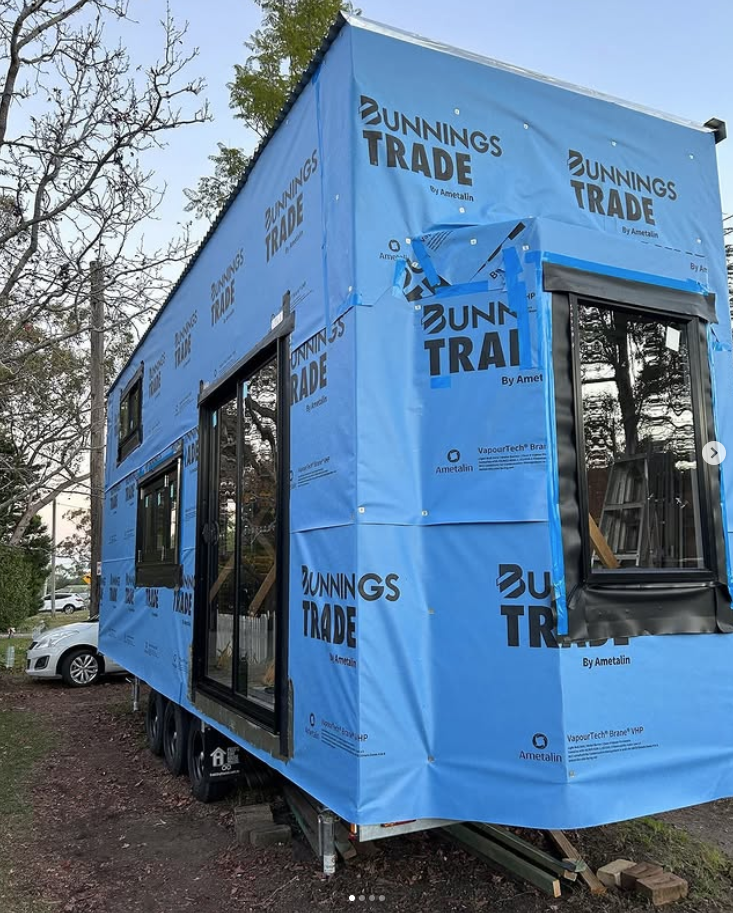
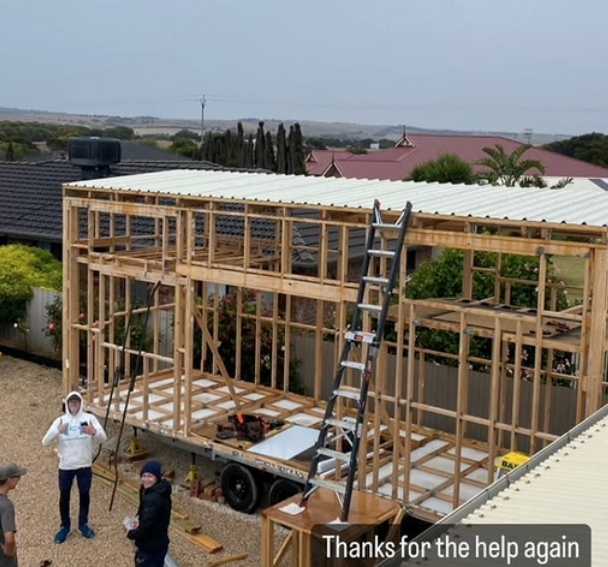
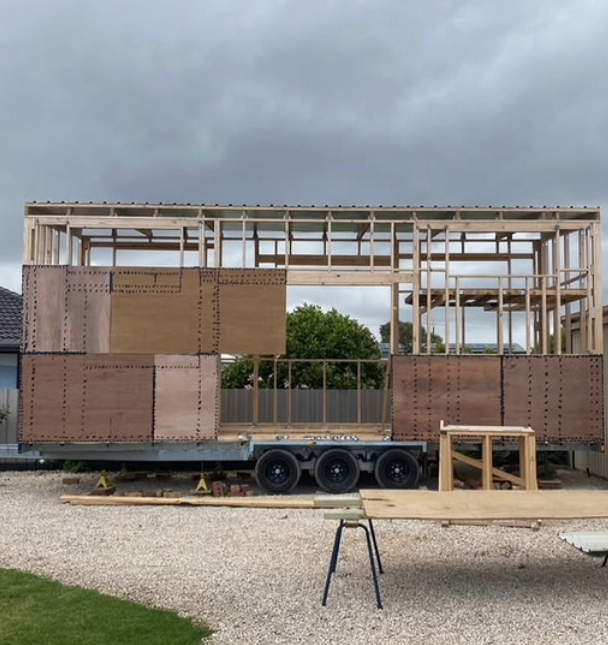
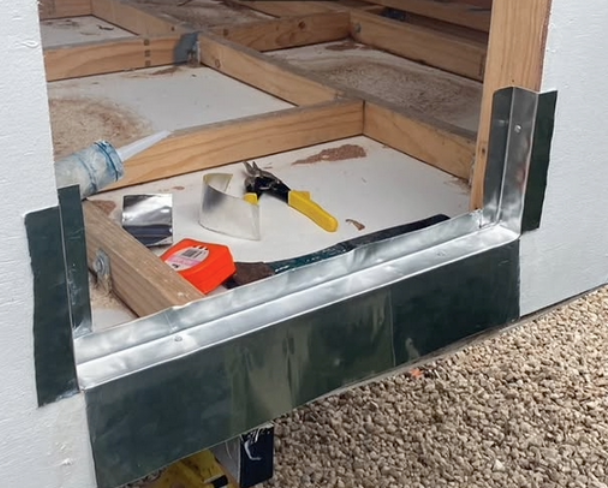
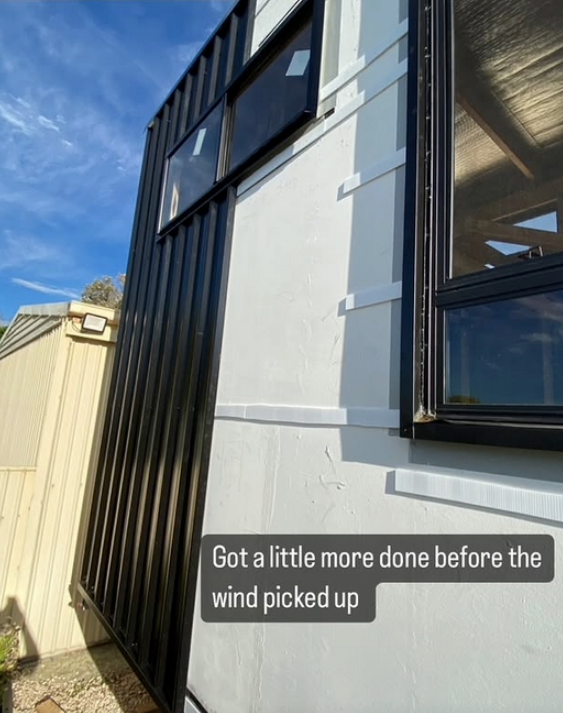
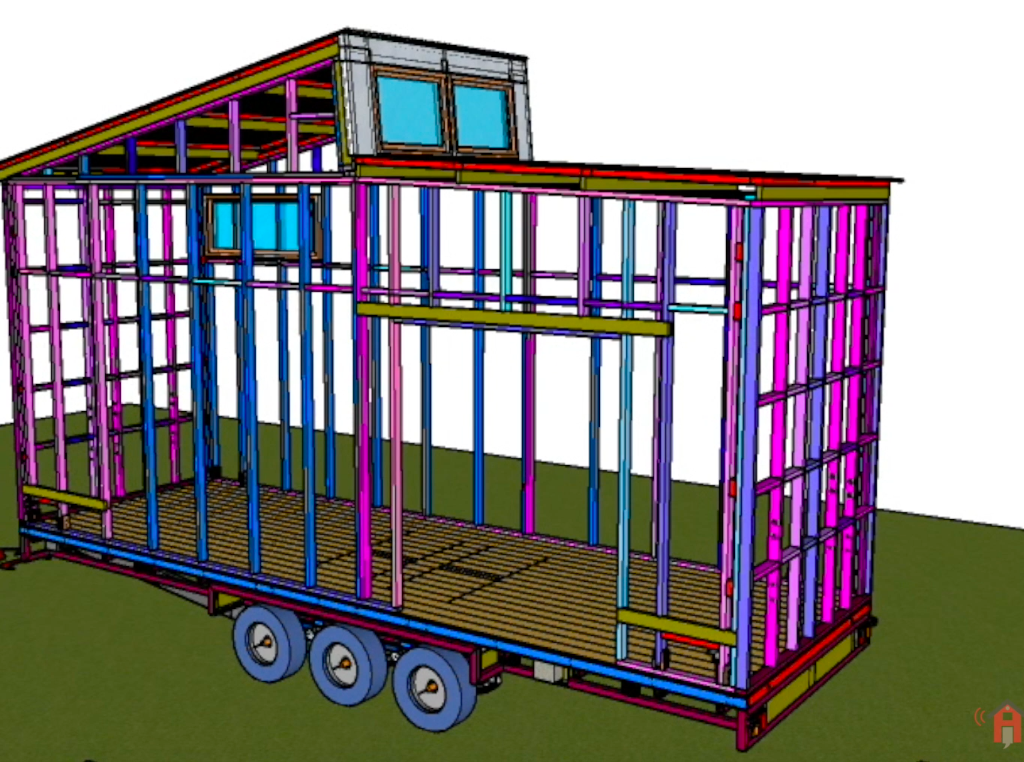
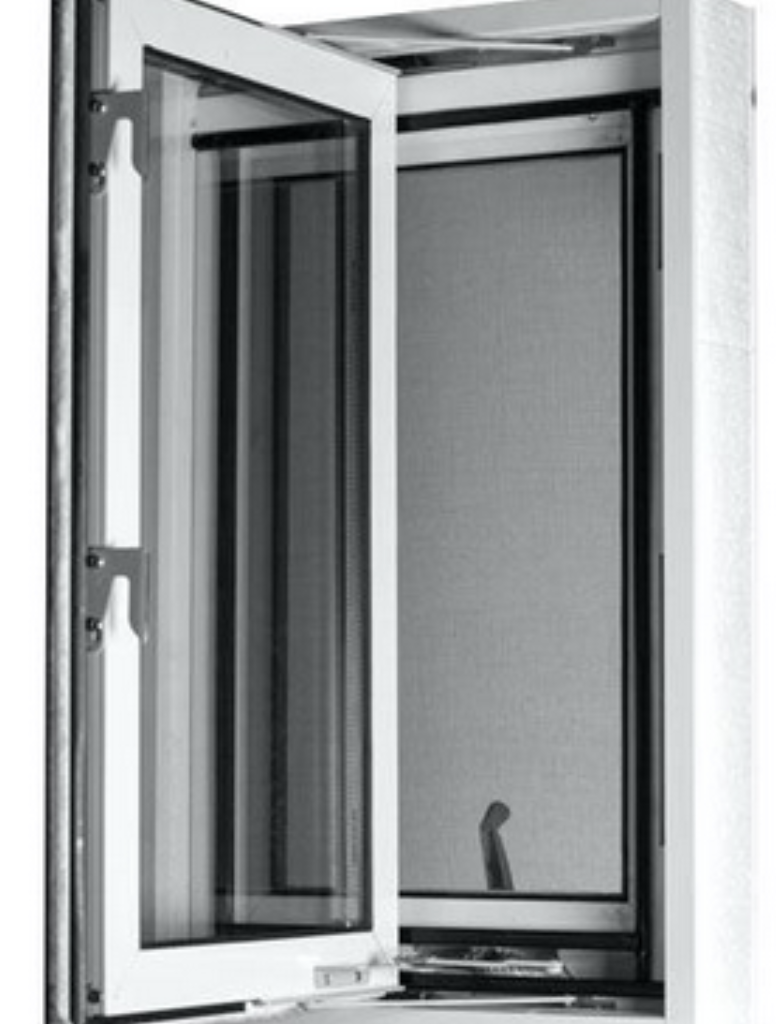
During the podcast conversation, he reflected openly on how his architecture training sometimes worked against him. He leaned heavily toward standard housing construction principles, adding excessive structural materials and multiple layers of heavy cladding — decisions that pushed his build dangerously close to the 4.5 tonne towing limit.
It’s one of the most common mistakes first-time tiny house builders make: forgetting that a tiny house on wheels is fundamentally a vehicle first, and a house second.
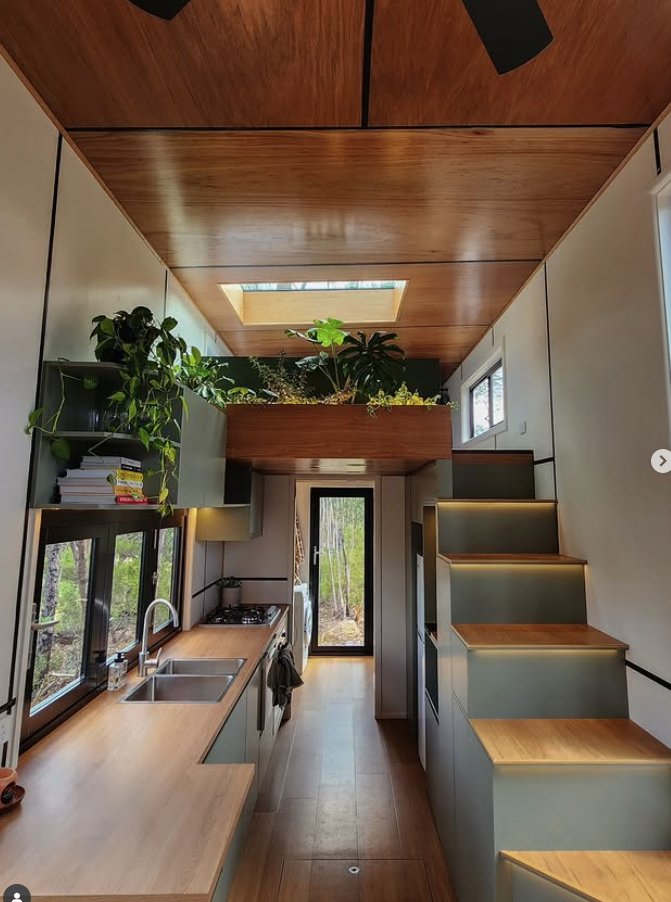
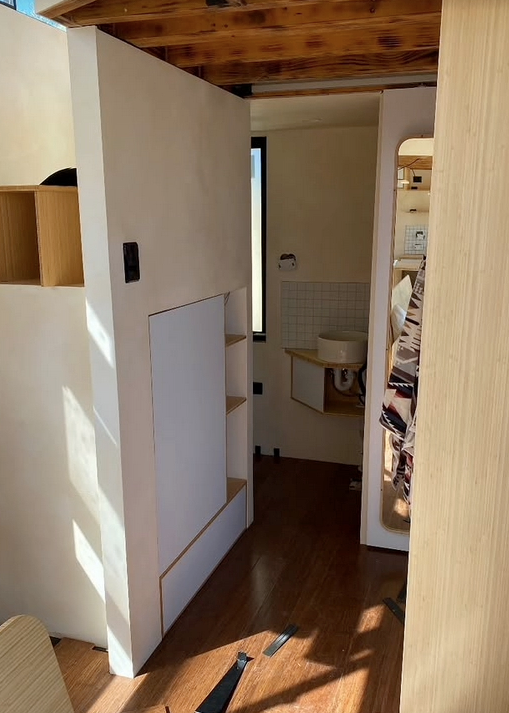
A Project That Changed Everything
Today, Lars looks back on the build not just as a housing project, but as a defining chapter of his early adult life.
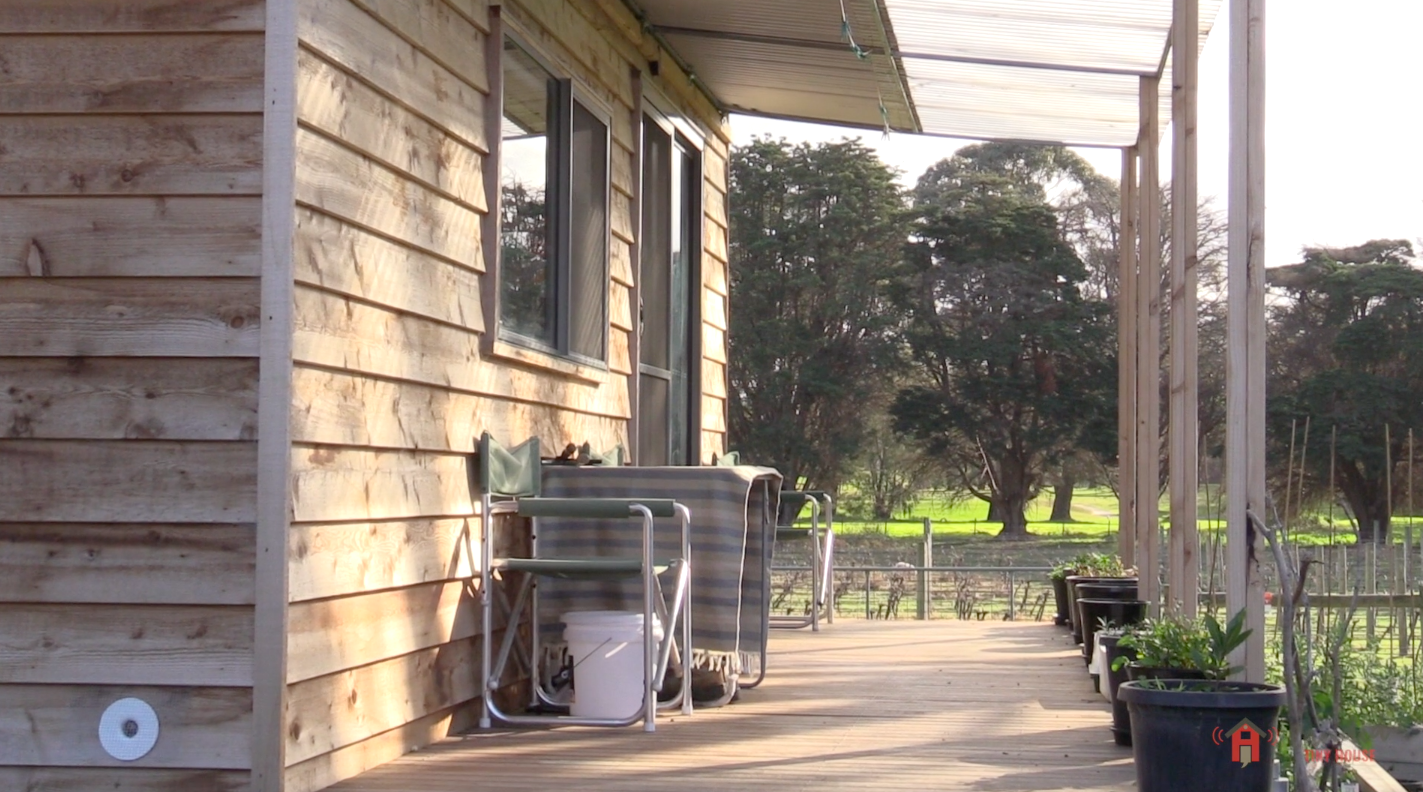
The tiny house challenged him, stressed him, taught him practical skills, reshaped his career opportunities, and forced him to confront both the freedoms and limitations of compact living.
For anyone considering building a tiny house on wheels, his story offers something increasingly rare online: honesty.
Not perfection. Not polished influencer content. Just the reality of learning by doing — and how transformative that process can be.
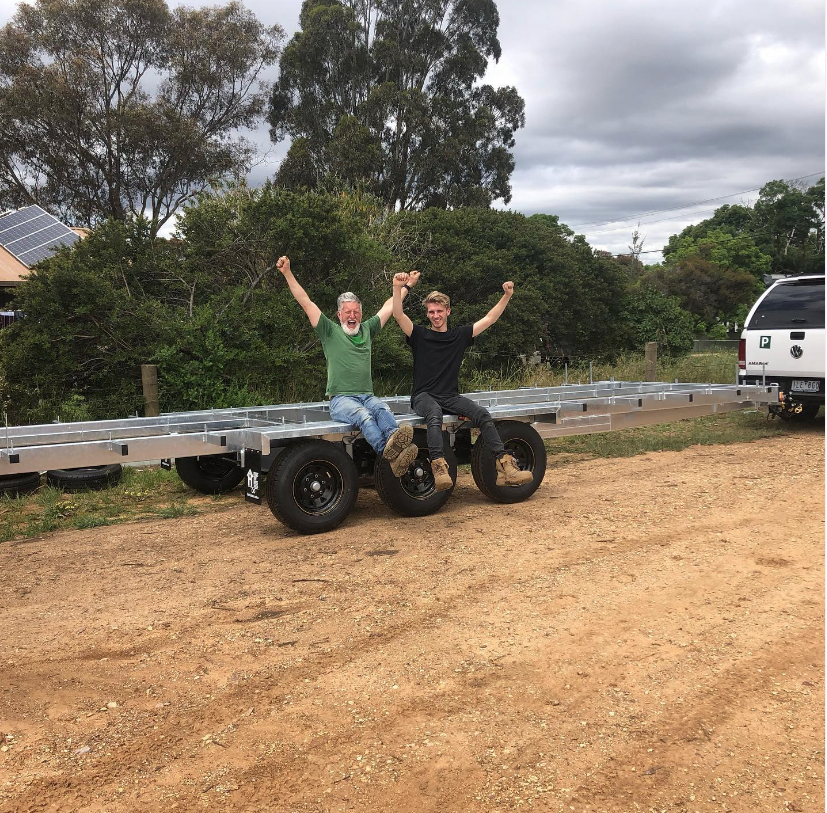
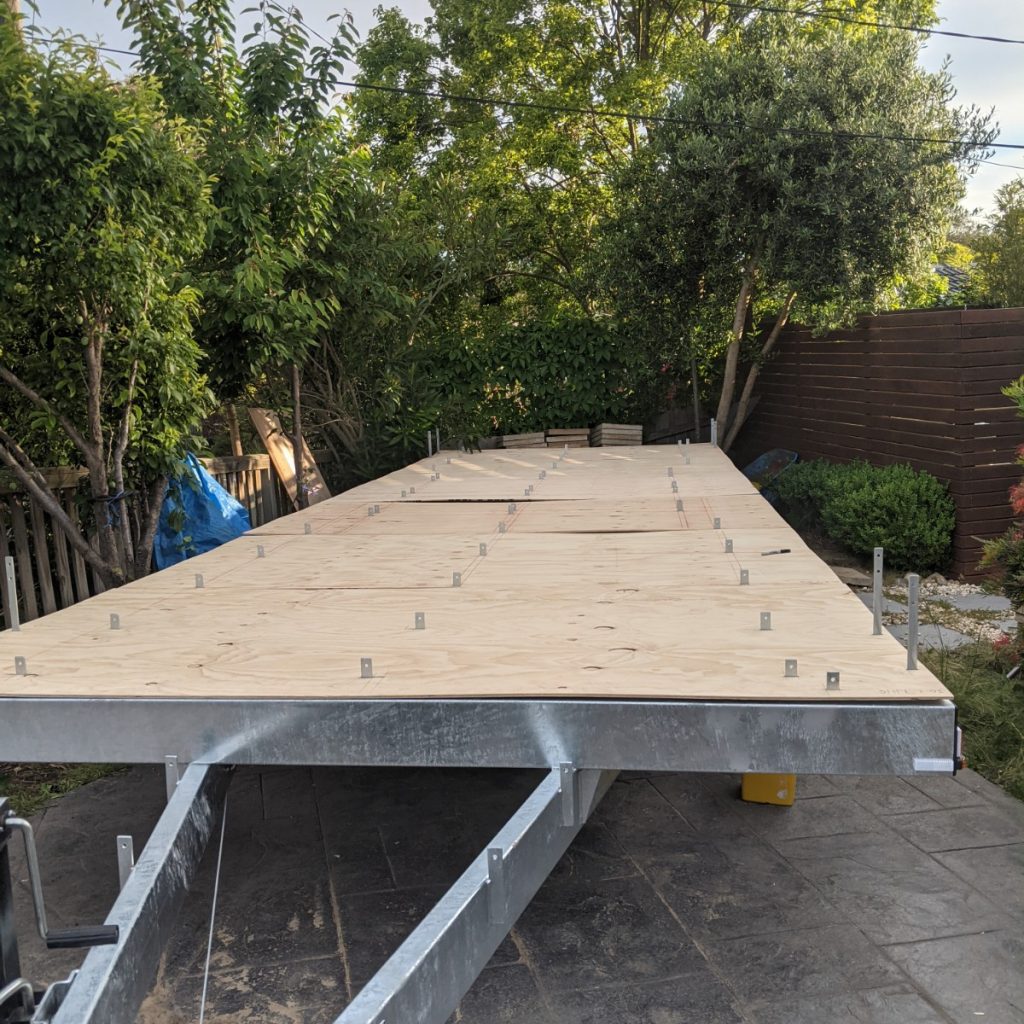

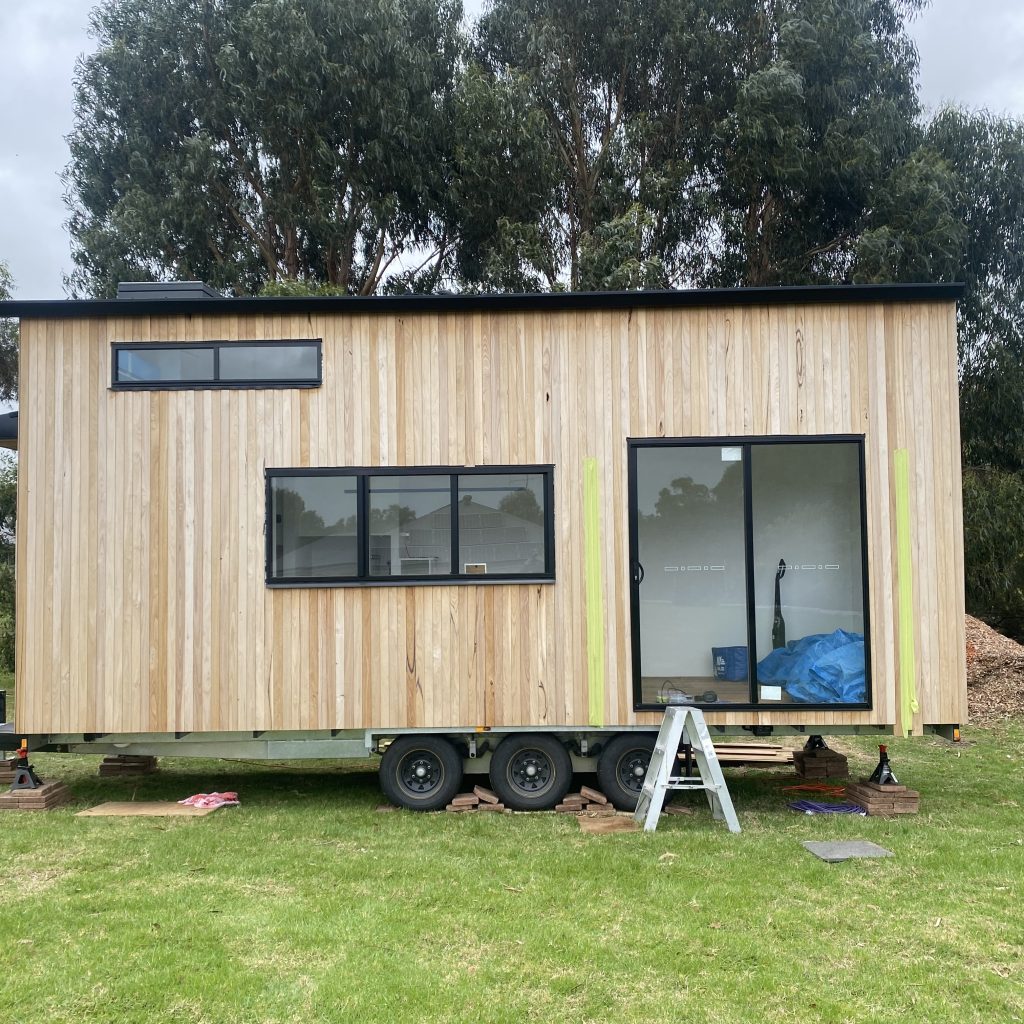
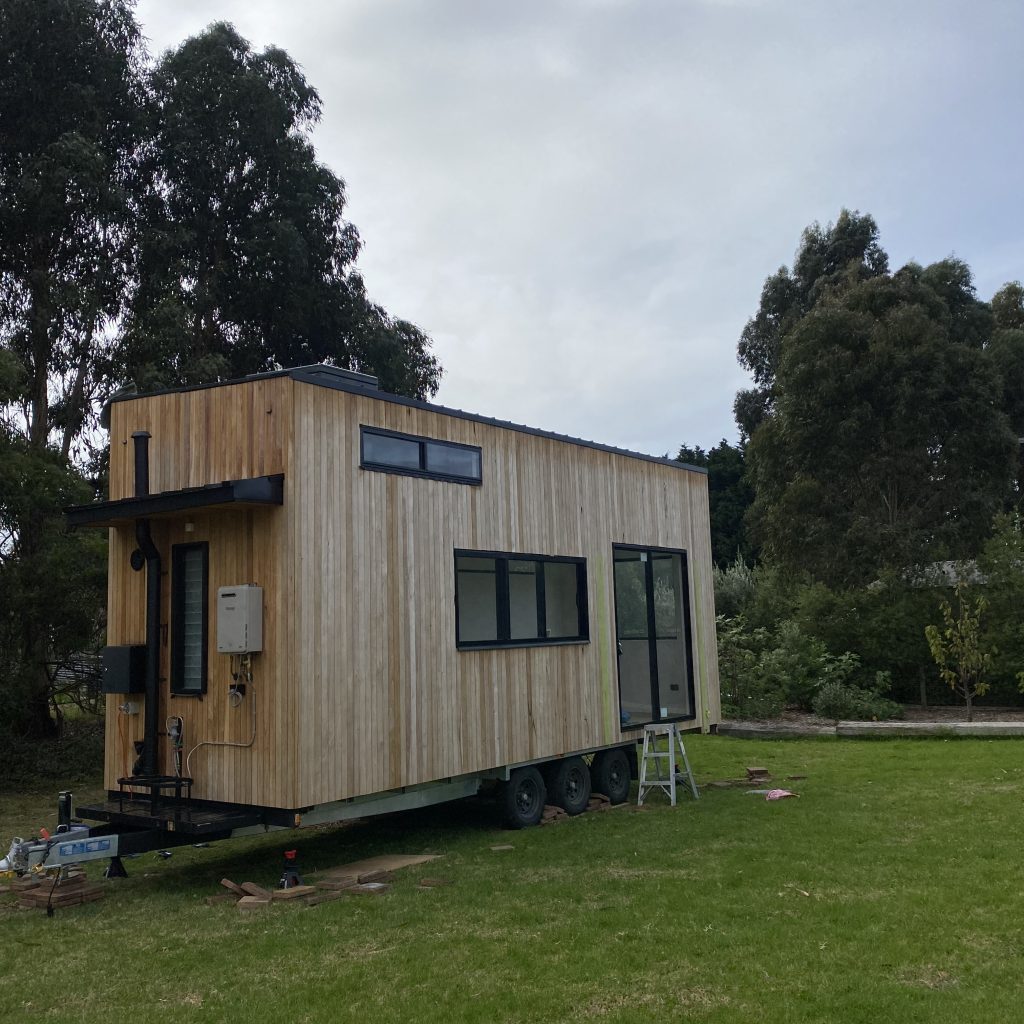
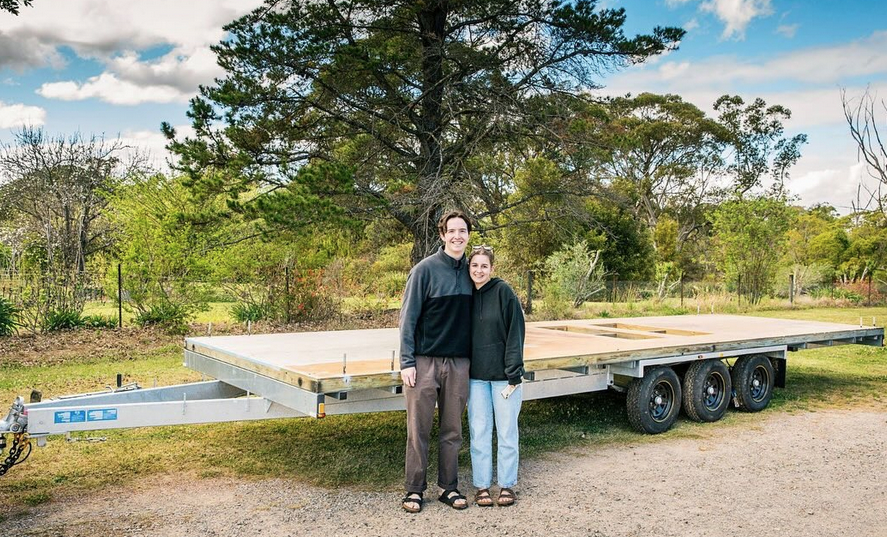
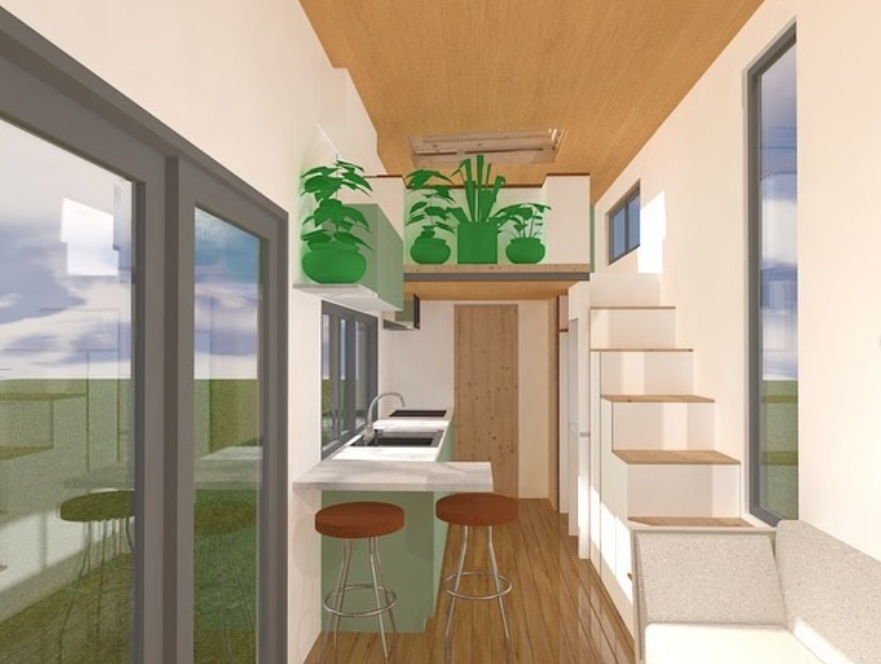
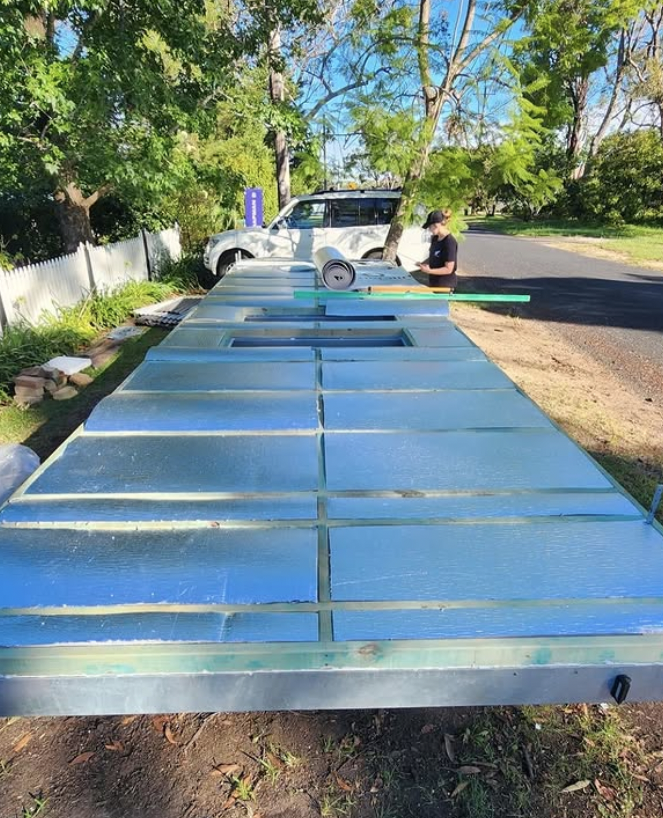
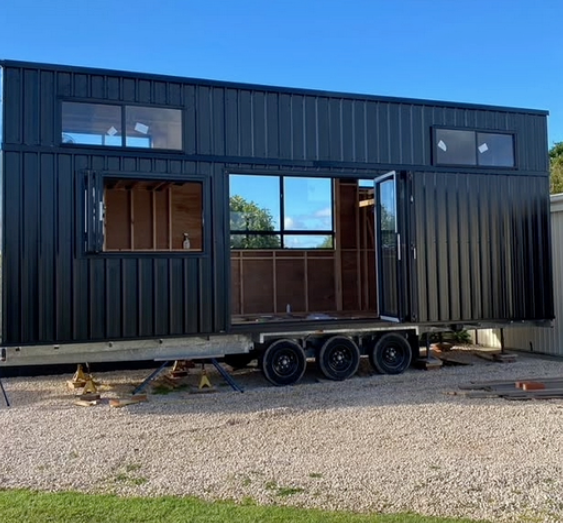
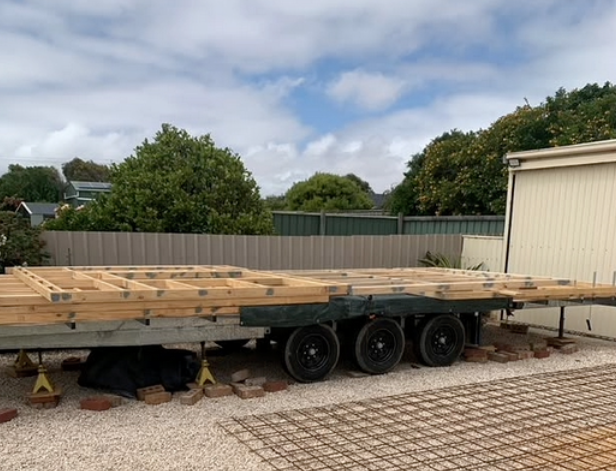
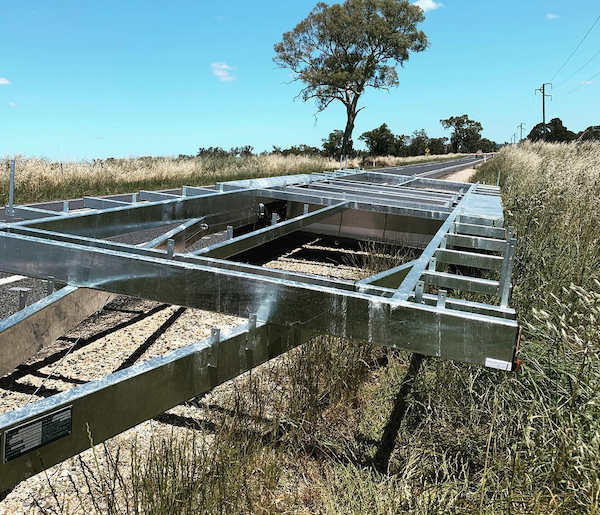
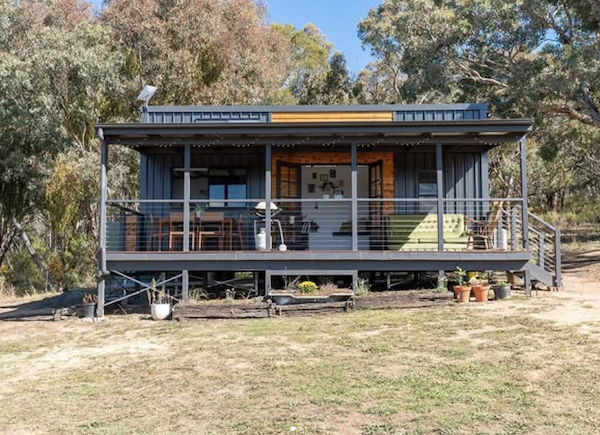
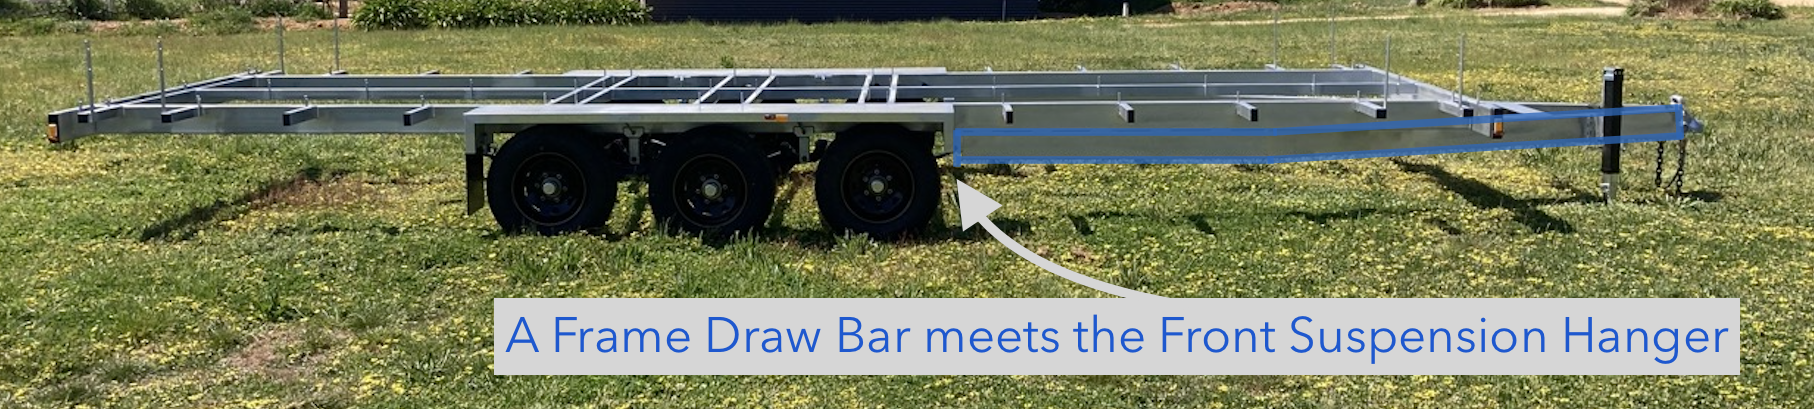
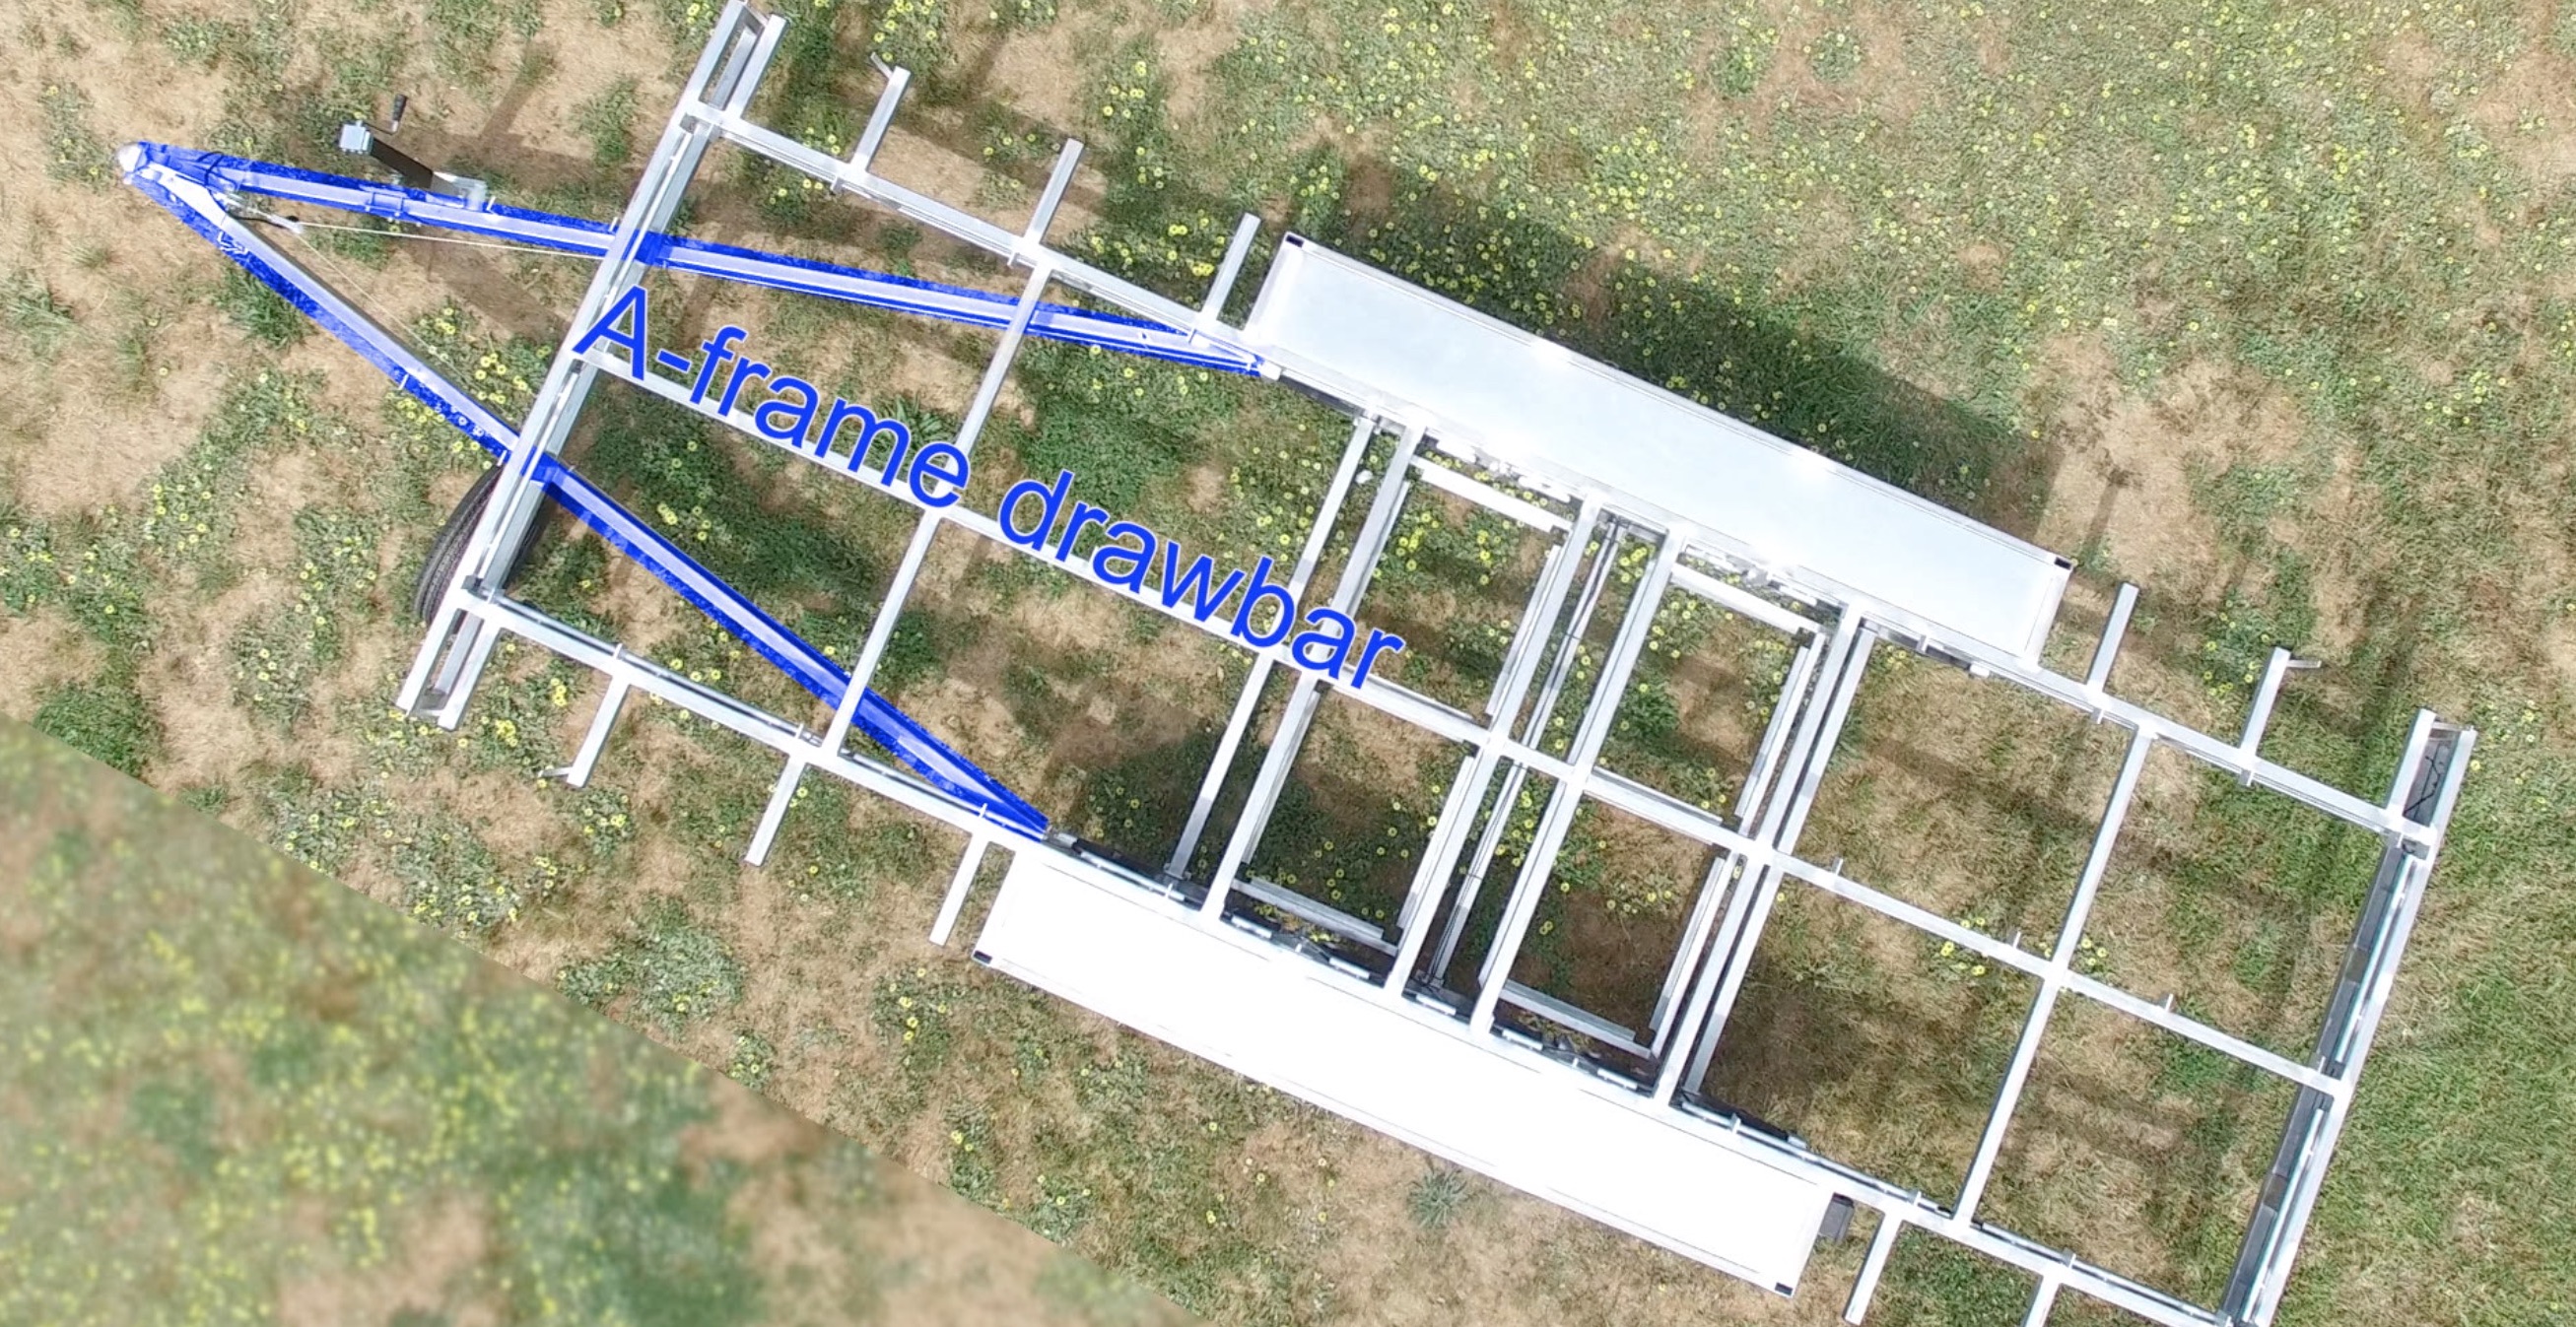
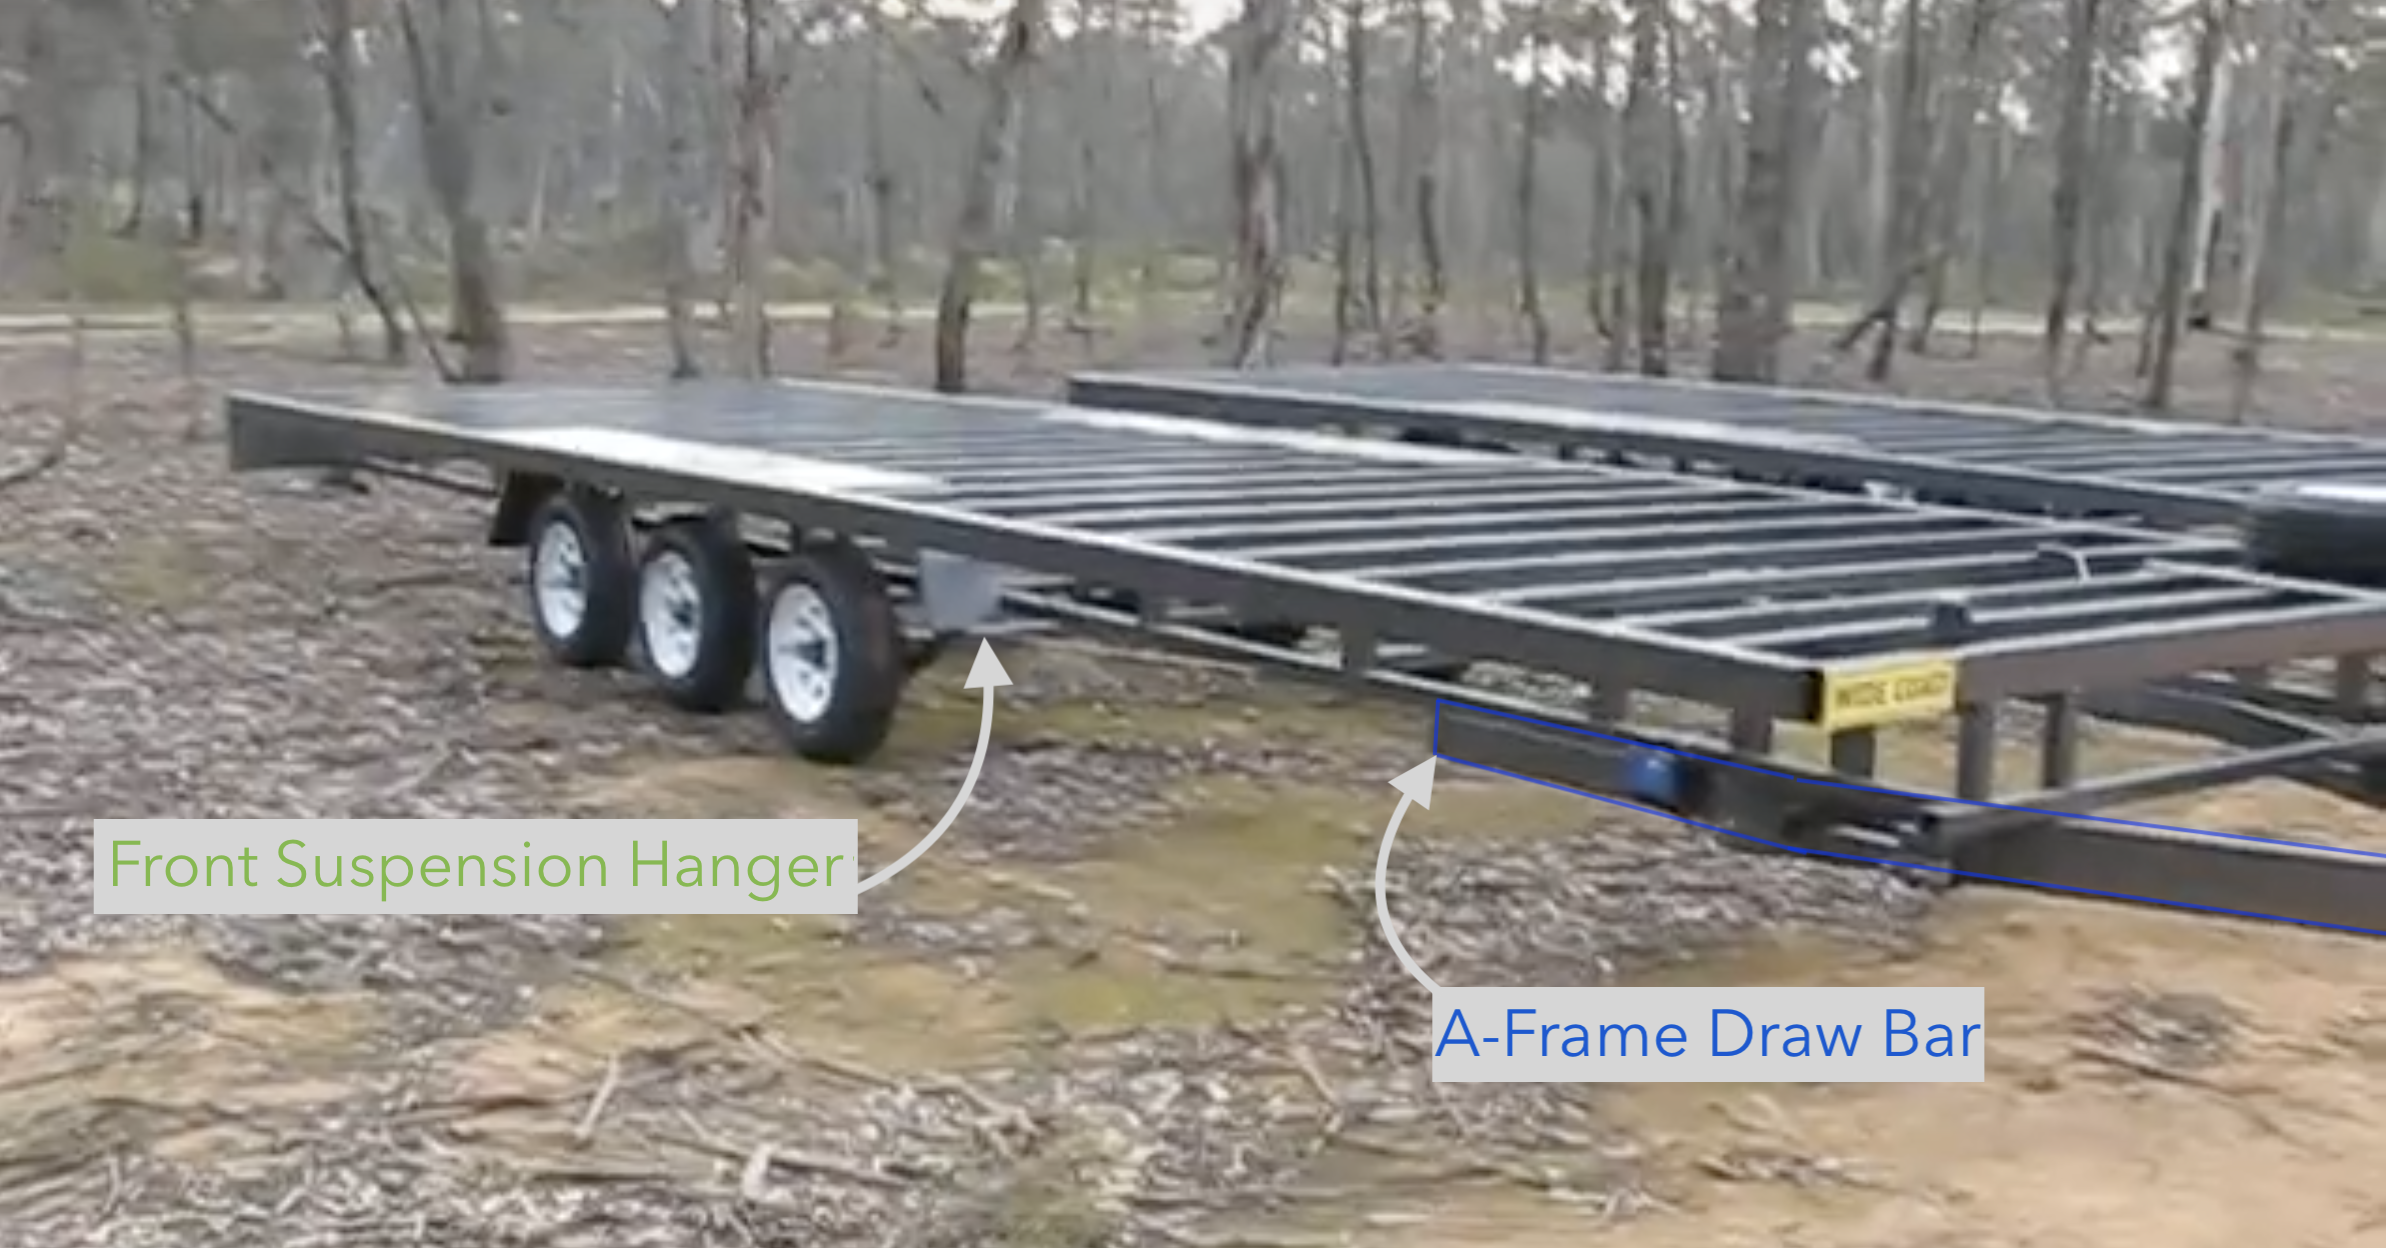
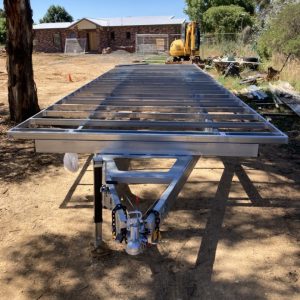
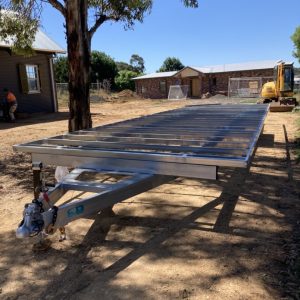
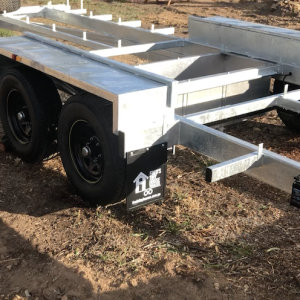
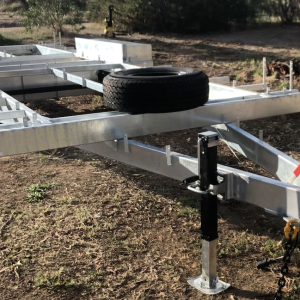
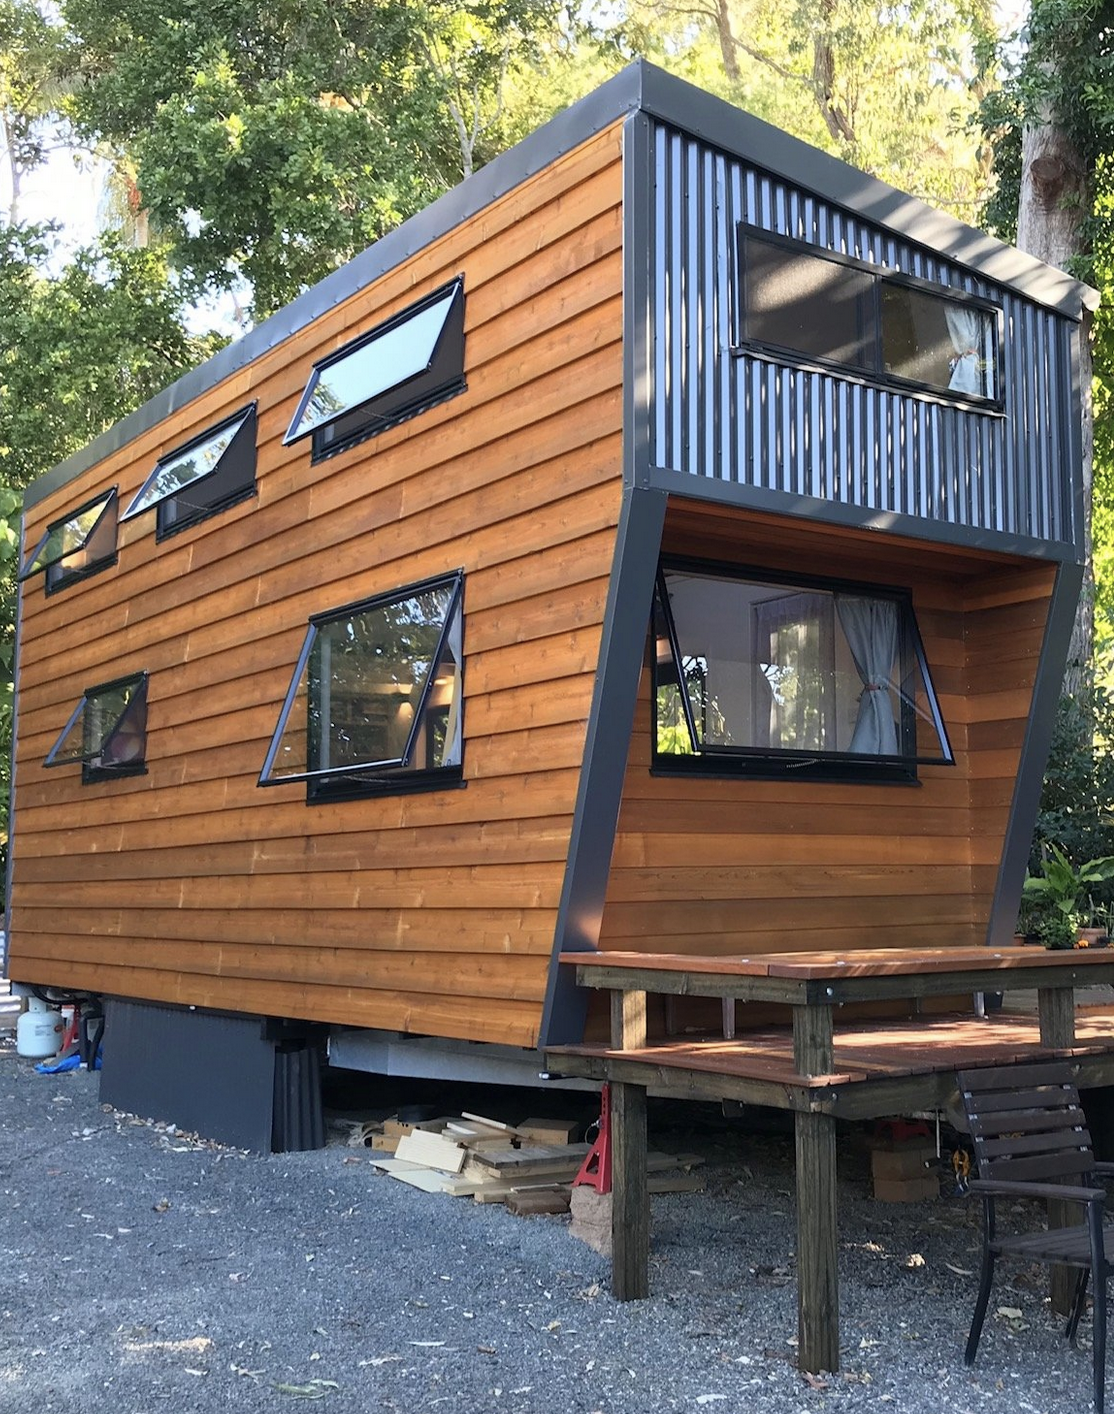
Trailer Details
- Length: 7.2 meters
- Width: 2400 mm
- Style: Flat Top
- Finish: Hot Dip Galvanized
- Build Period: 18 months
- DIY Build
You can do this too!
Lars started his tiny house building journey by buying a Fred’s Tiny House Trailer. He took the Online Course and enjoyed the support of receiving support from Fred throughout his build.
Start here: